---
title: "EDM115 - Project EDM115/spendly"
canonical_url: "https://edm115.dev/projects/spendly"
last_updated: "2026-08-20T22:15:20.387Z"
meta:
description: "Simple, powerful, and free budget tracking for everyone with tables, stats and charts. Made for my gf"
"og:description": "Simple, powerful, and free budget tracking for everyone with tables, stats and charts. Made for my gf"
"og:title": "EDM115 - Project EDM115/spendly"
---
Home

# spendly
Simple, powerful, and free budget tracking for everyone with tables, stats and charts
Made for my gf
## What is it ?
Spendly is a web application designed to help you track your budget and expenses in a simple and efficient way. It offers a user-friendly interface where you can easily manage your finances, categorize your spending, and visualize your financial data through charts and statistics. Whether you’re looking to keep a close eye on your daily expenses or plan for long-term financial goals, Spendly provides the tools you need to stay on top of your budget.
## User documentation
Hi 👋
You’ll find here everything you need to know to use Spendly.
The homepage lists all features of Spendly, with some technical details too.
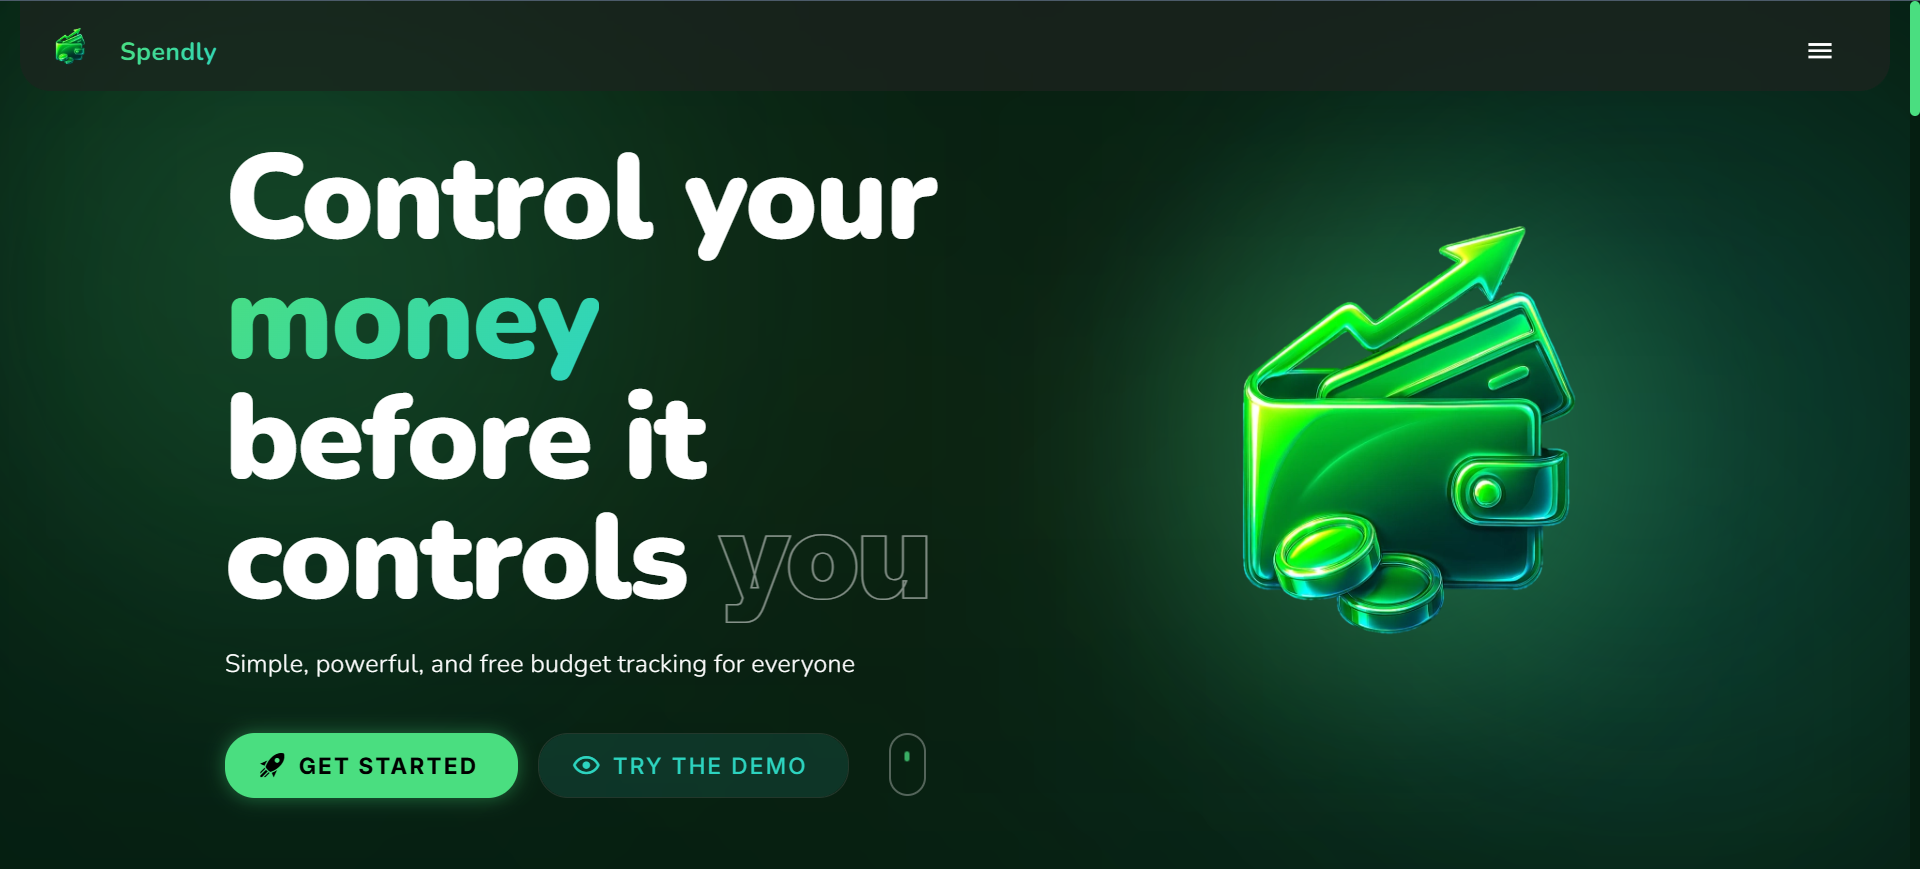
The best way to understand Spendly is to check the demo.
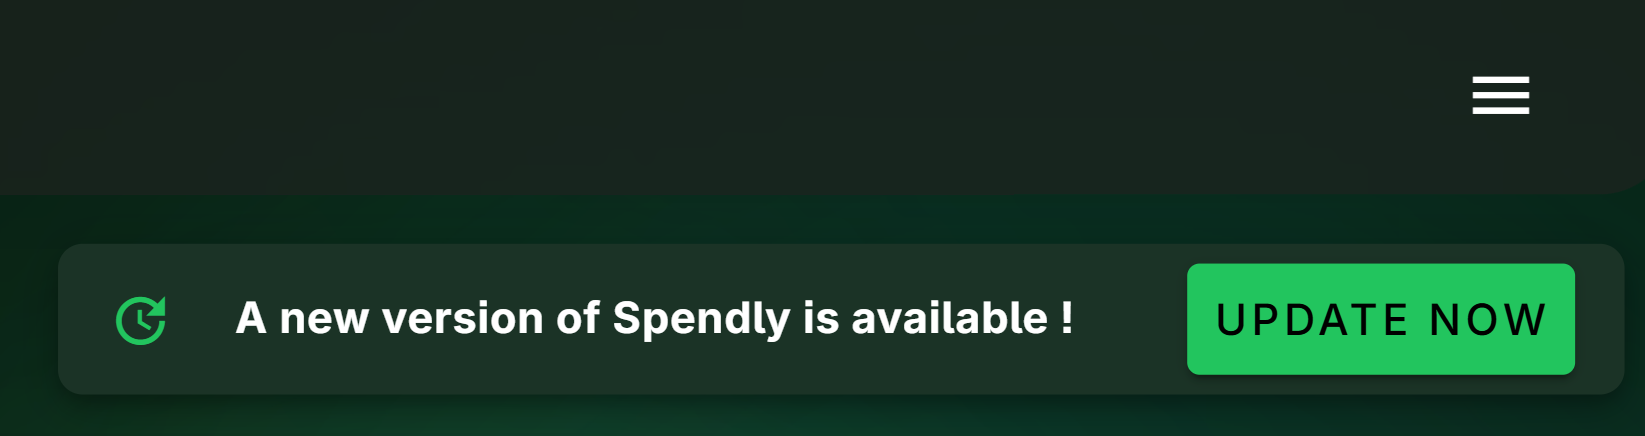
The app also allows you to install it as a PWA on your device, and access it from anywhere. It is responsive and works on all screen sizes. It will also warn you when a new version is available, so you can always have the latest features and bug fixes.

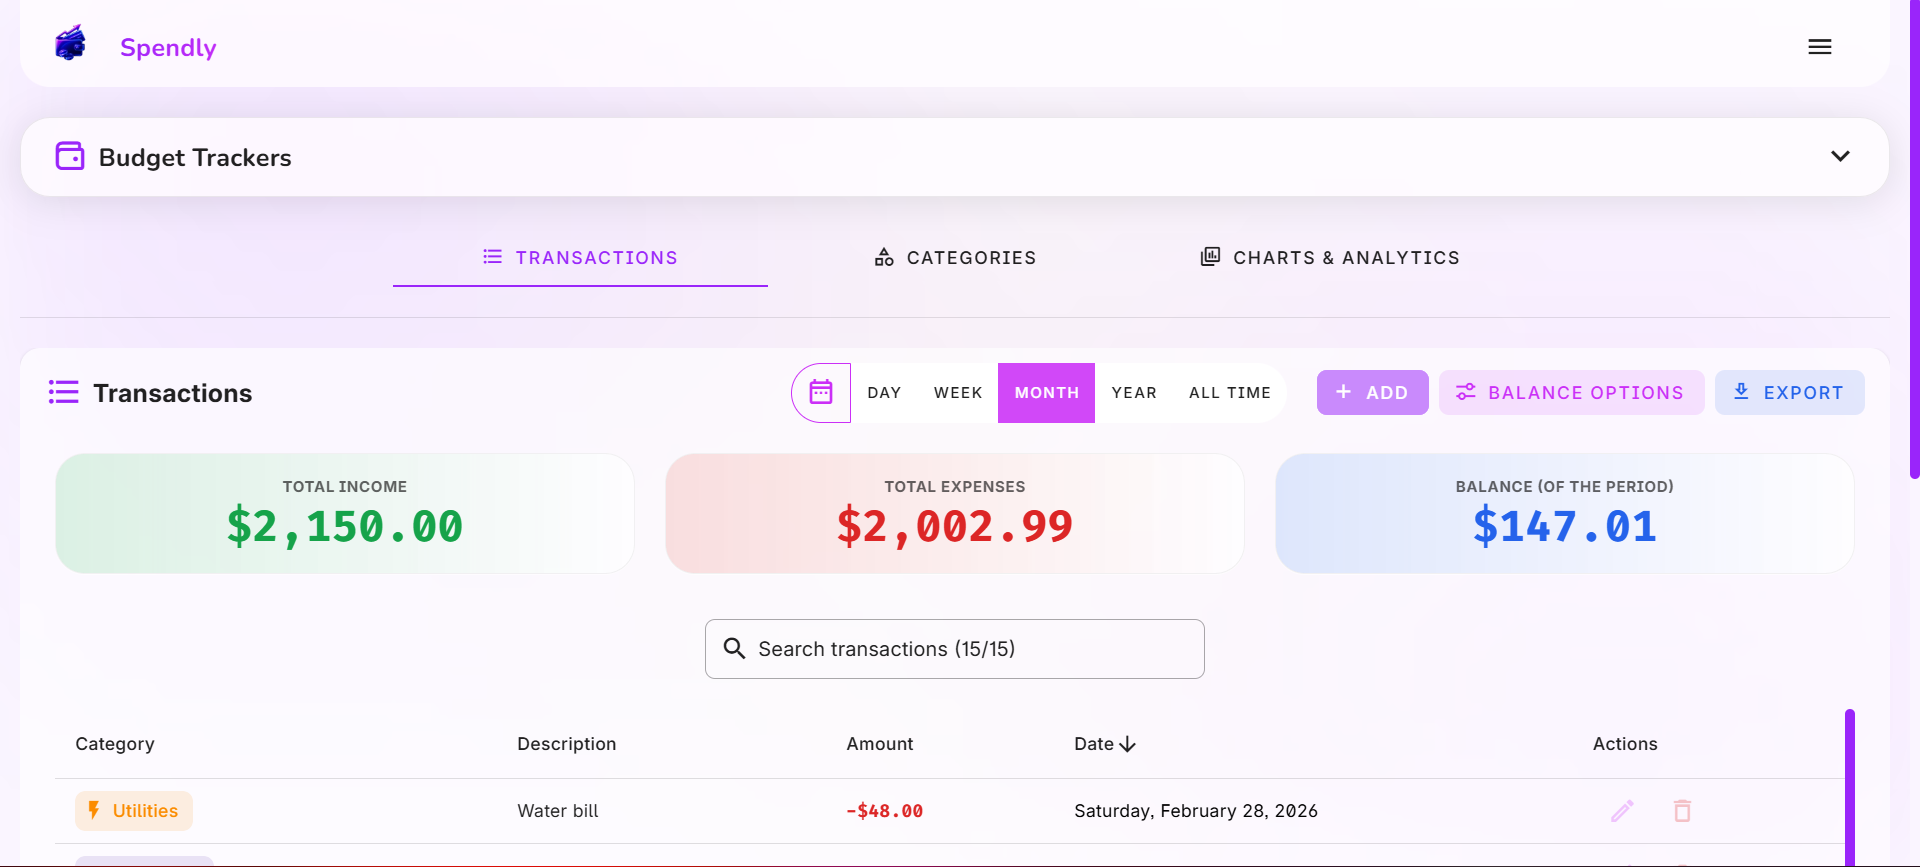
The app is available in English and French, and have both light and dark modes. Use the Menu to switch between them, log in/out and access your account settings.
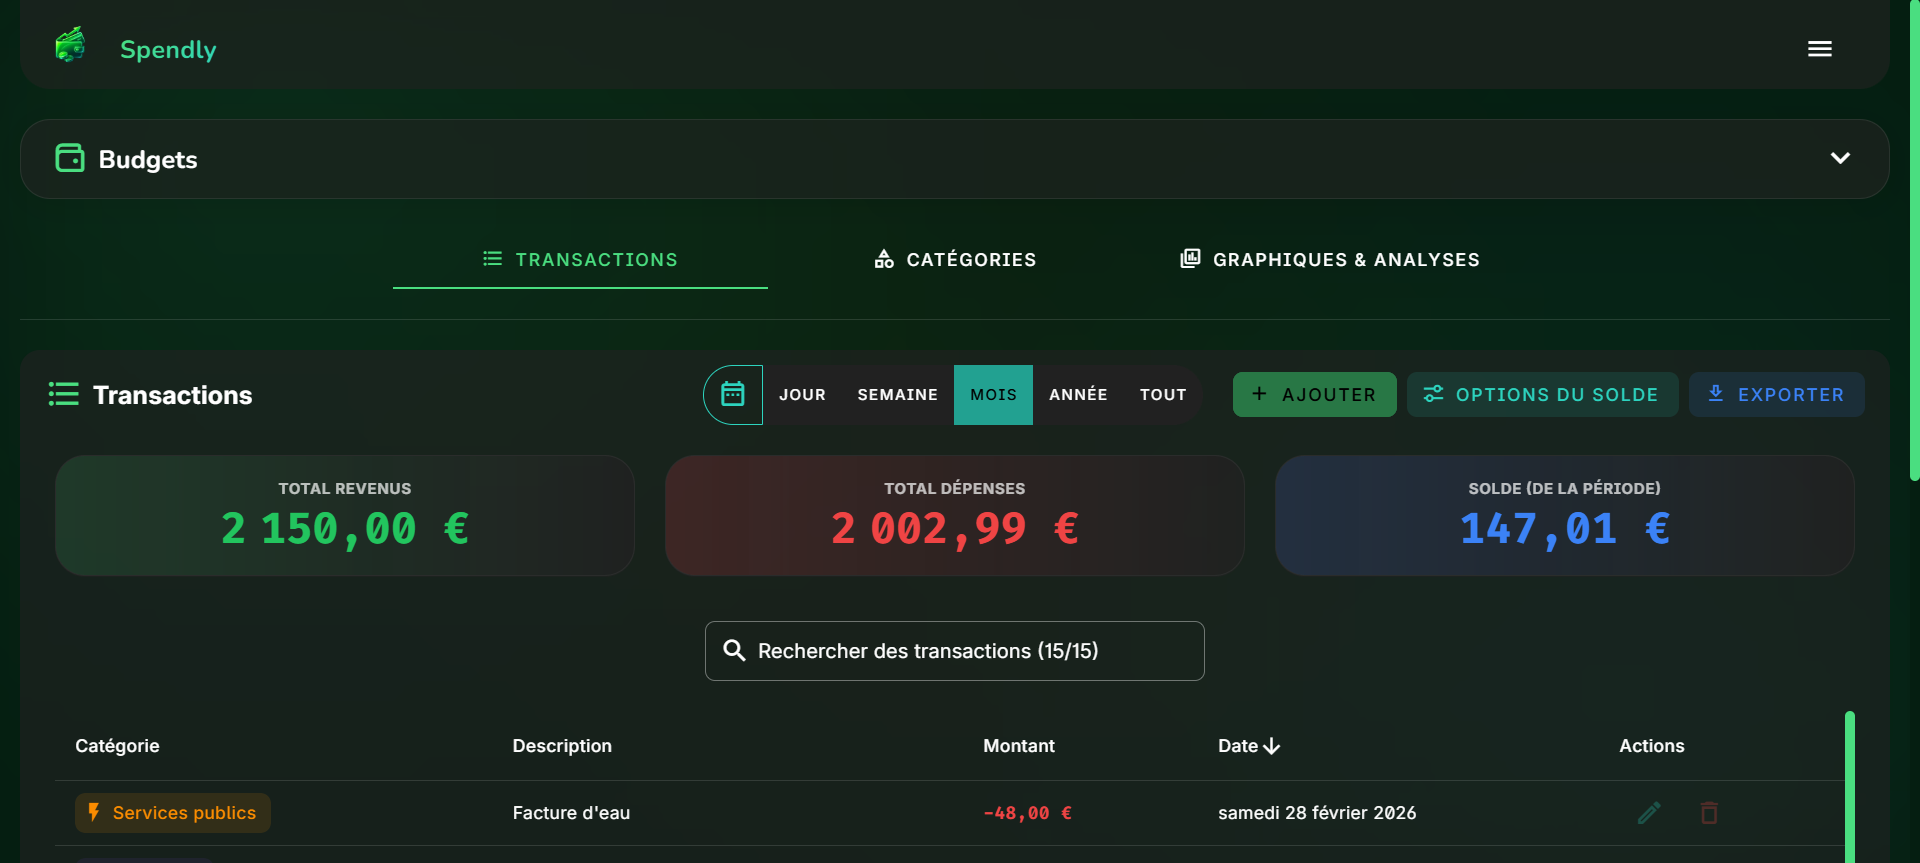
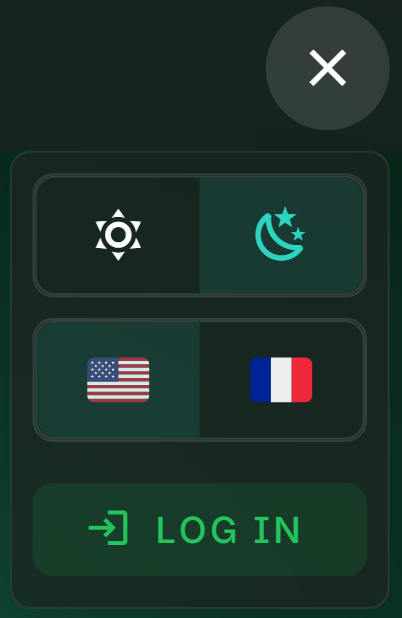
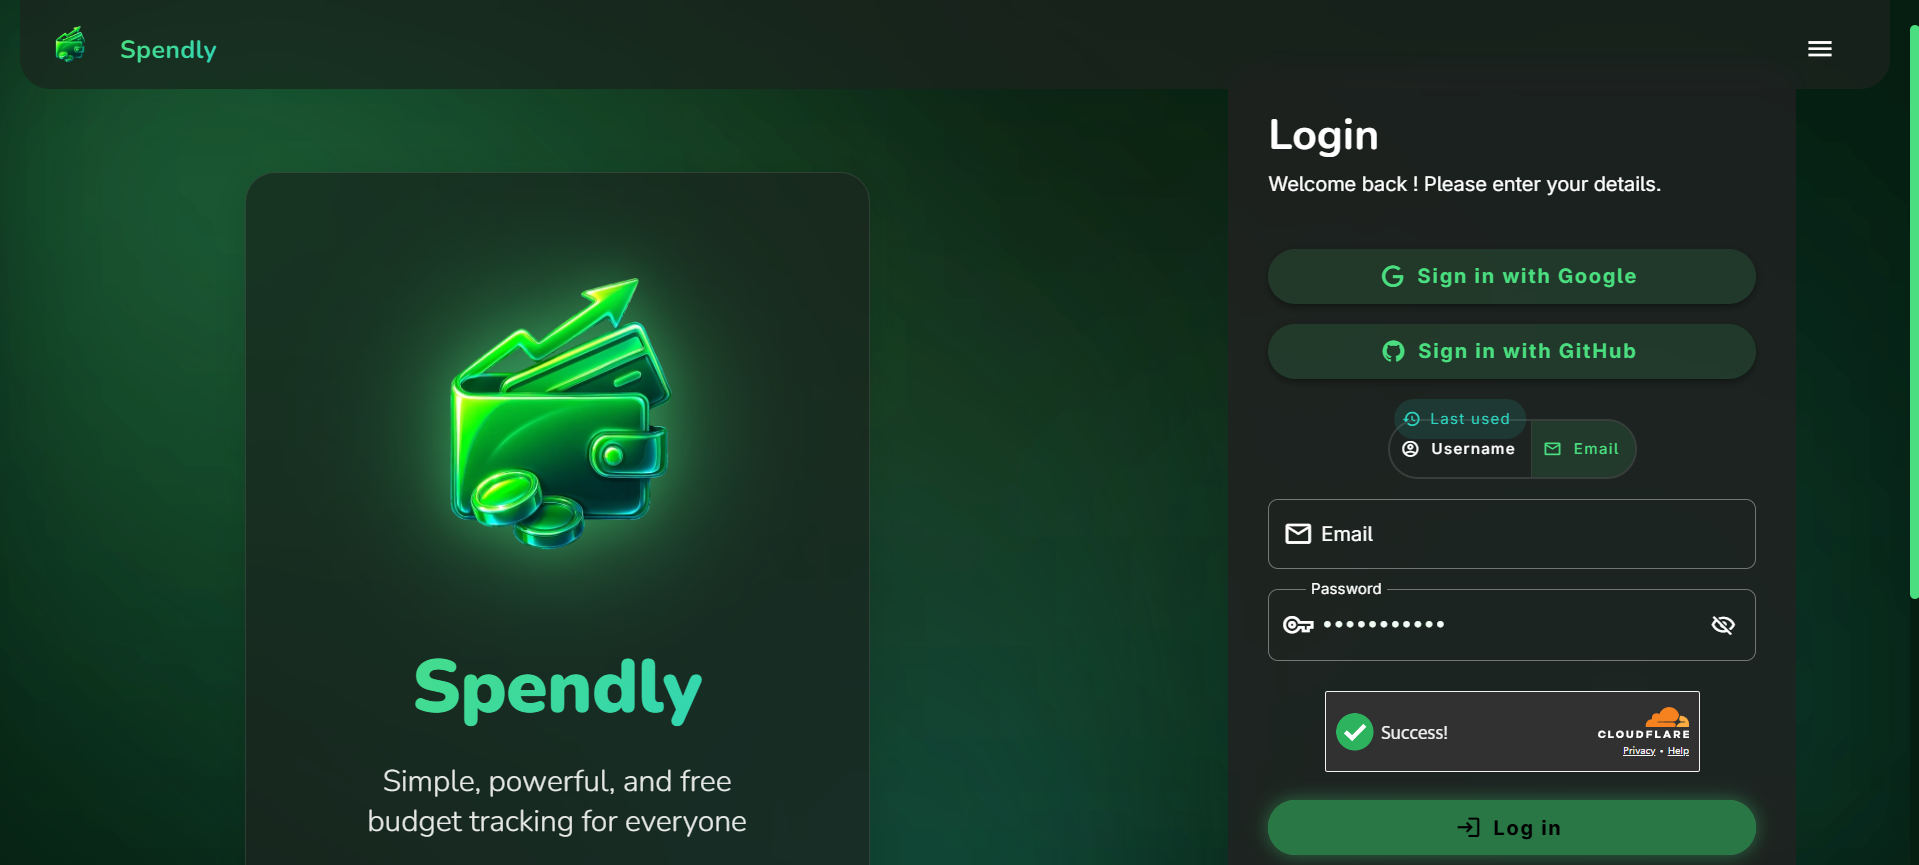
Go to the login page once you’re ready. You can create an account. Afterwards, simply login with your username/email and password, or use OAuth once linked in your account settings.
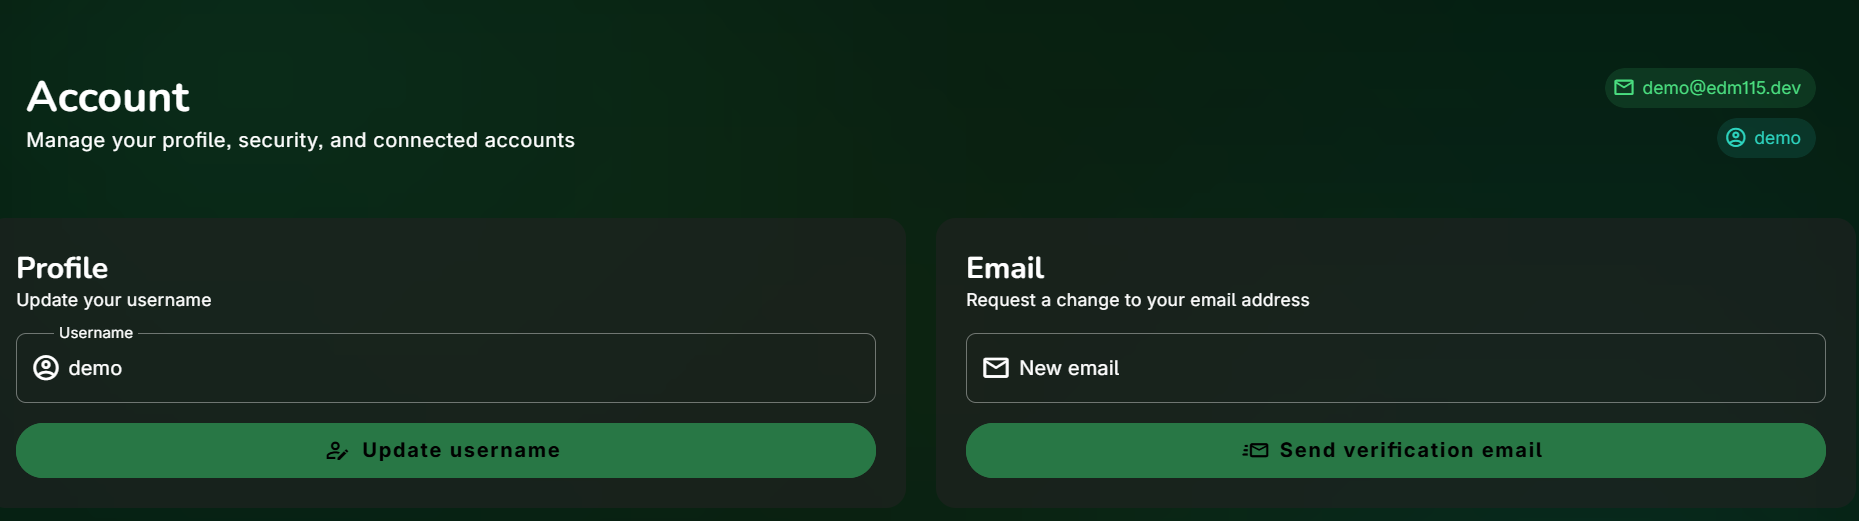
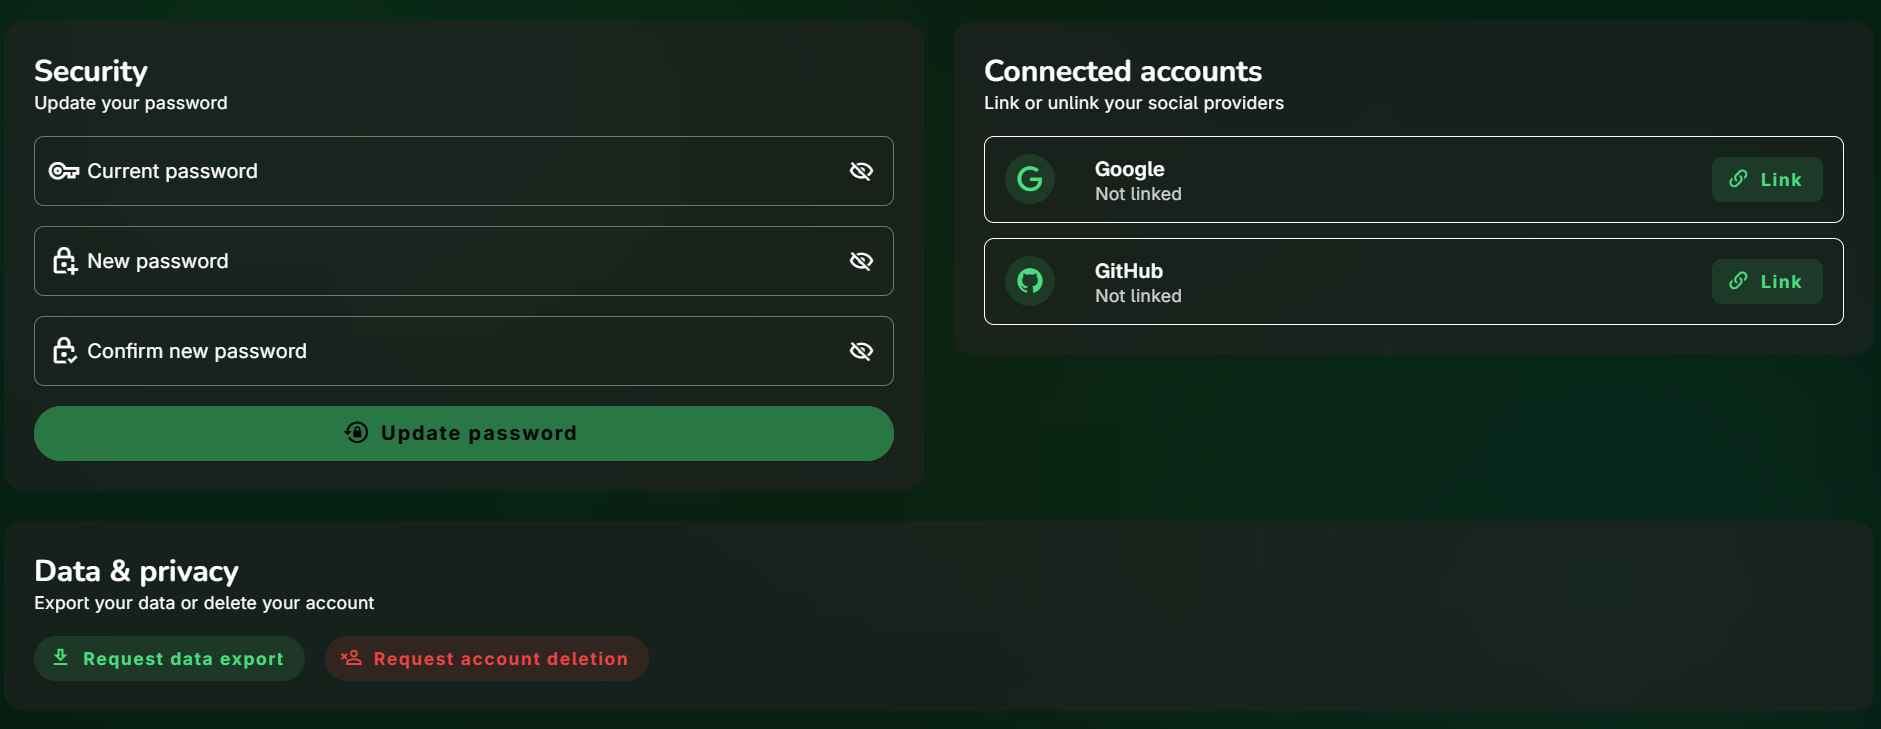
Speaking of those accounts settings, they allow you to take multiple account-related actions.

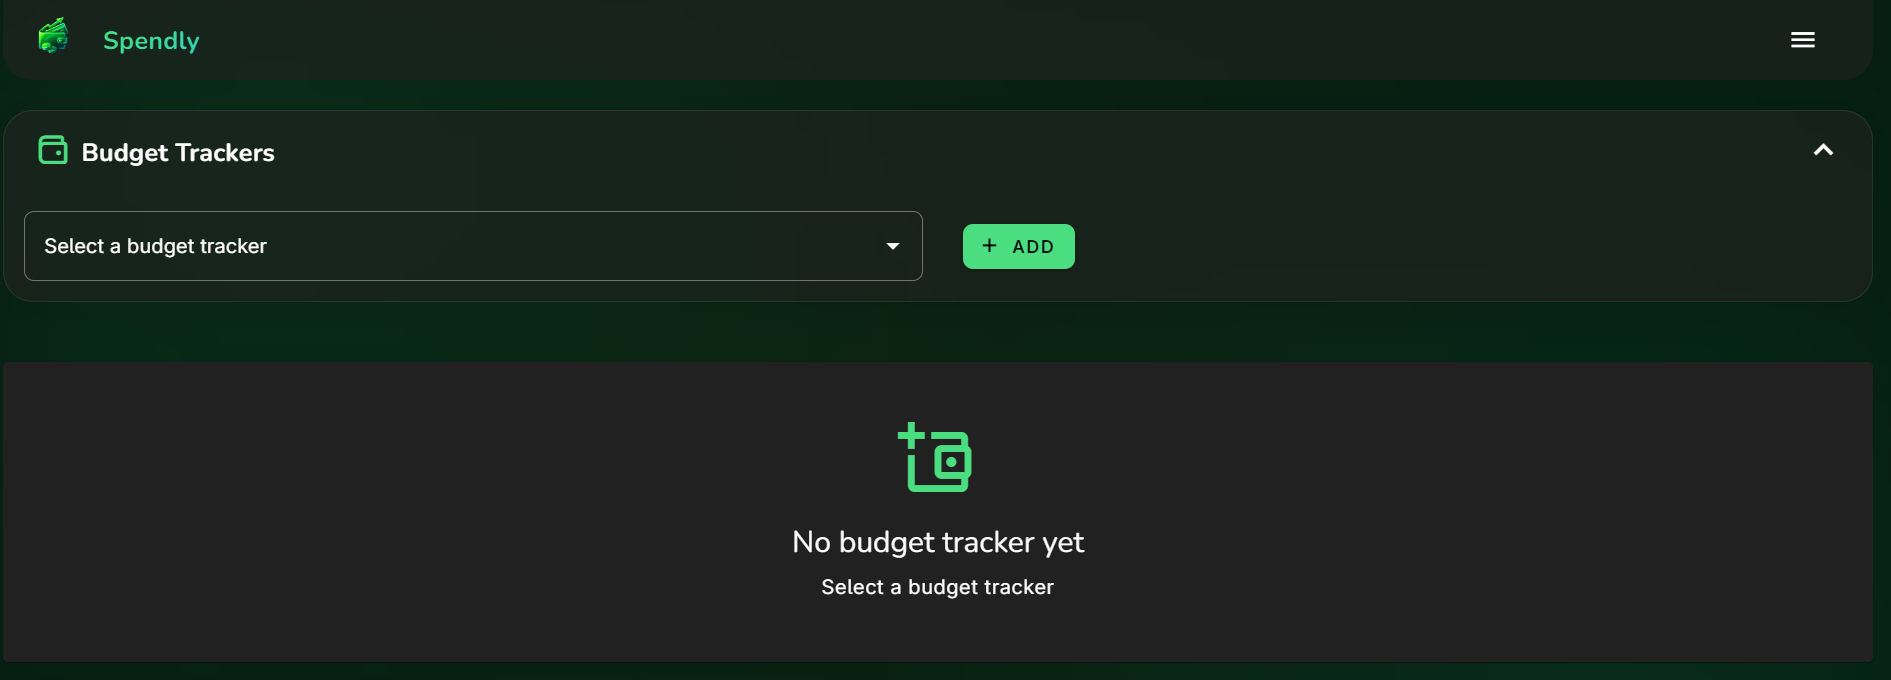
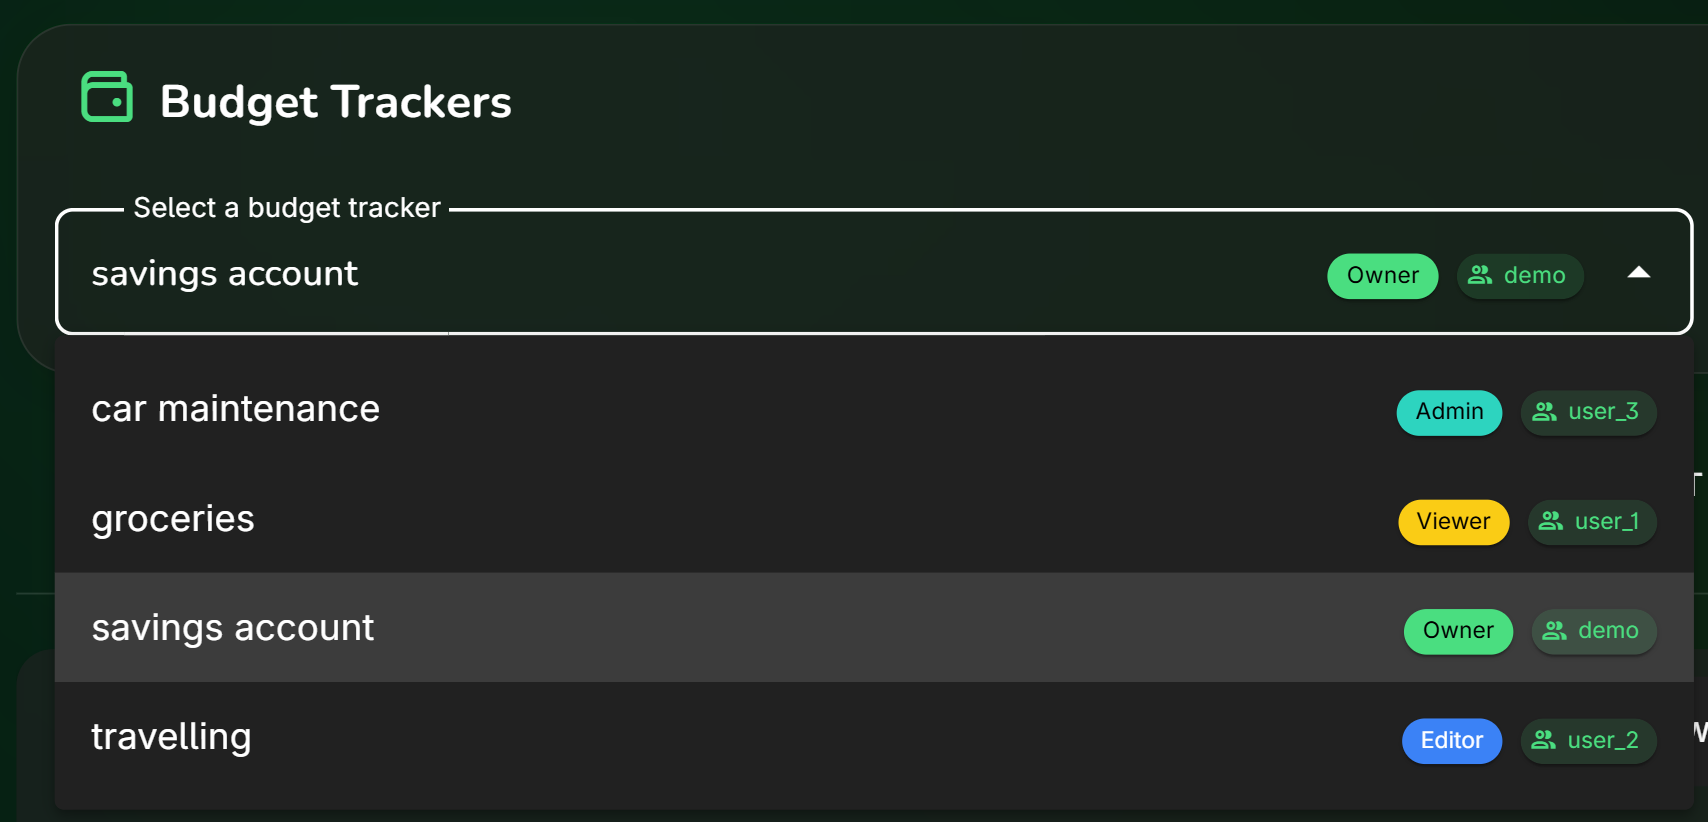
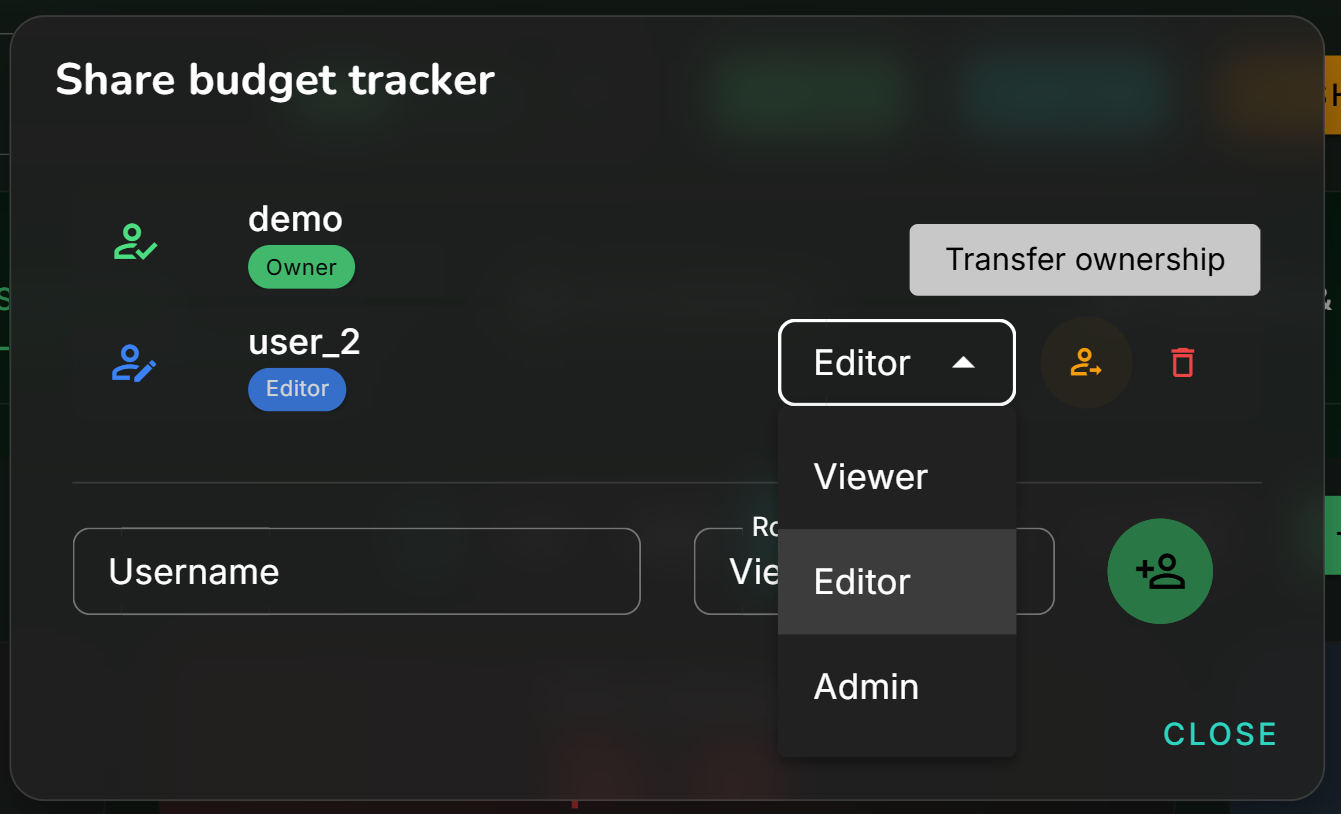
The first step is to create a budget tracker, which is a container for your financial data. You can create as many as you want, and share them with other users with different permissions (viewer/editor/admin).
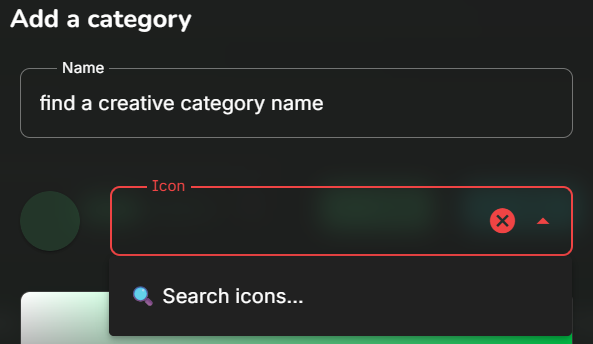
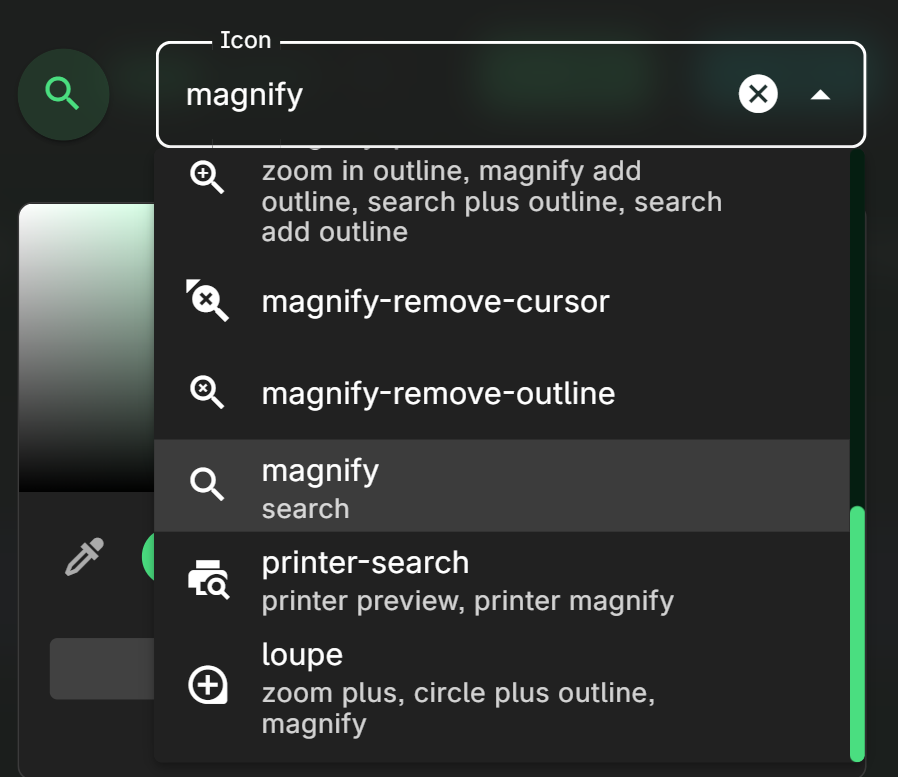
Once done, you can start adding categories. It have a built-in icon search.

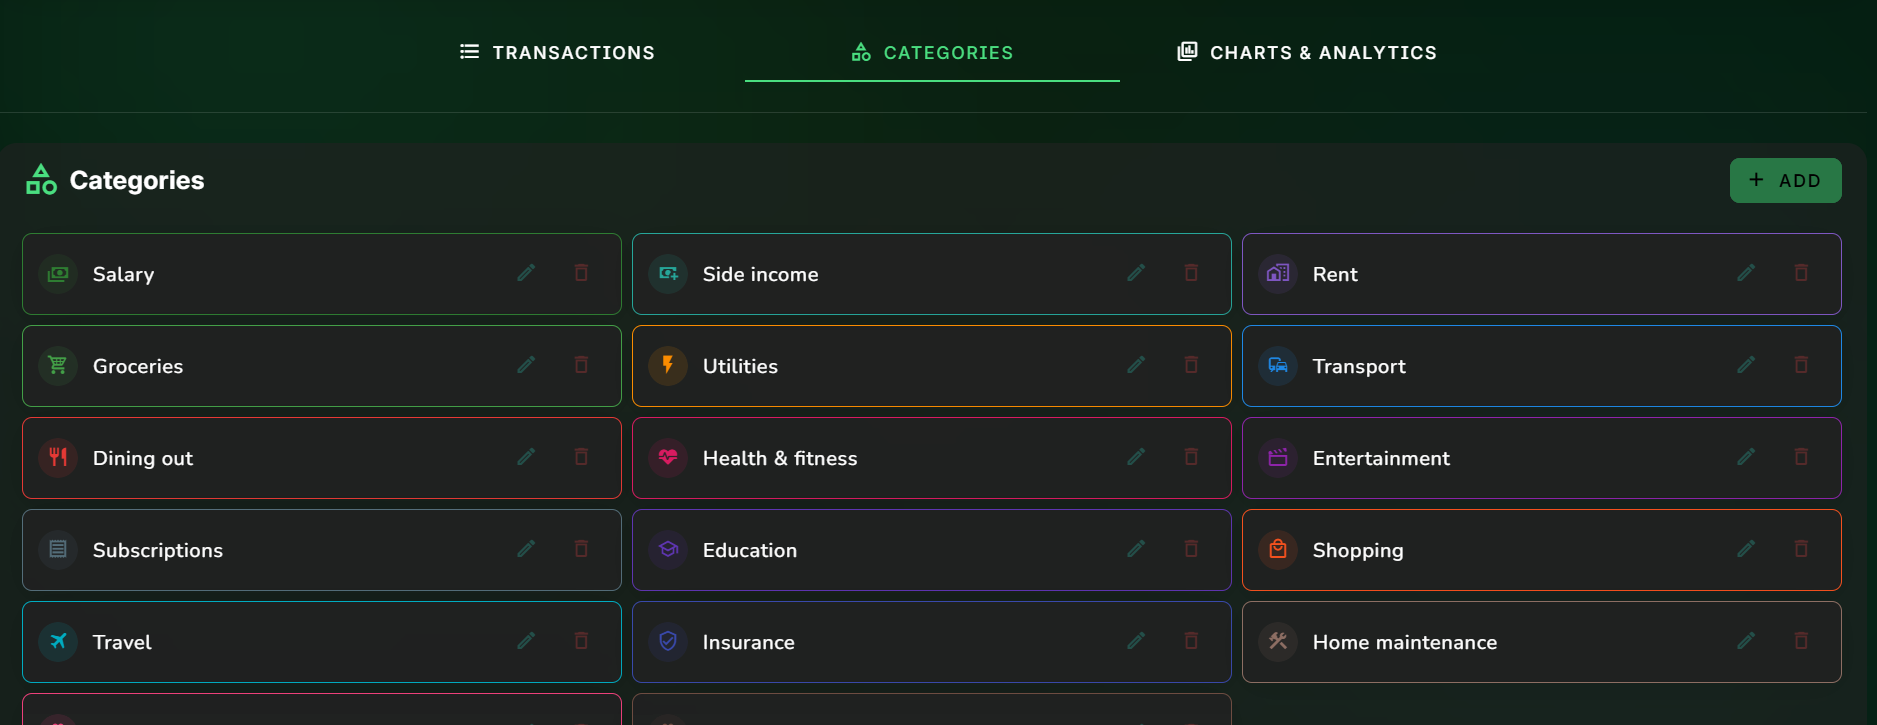
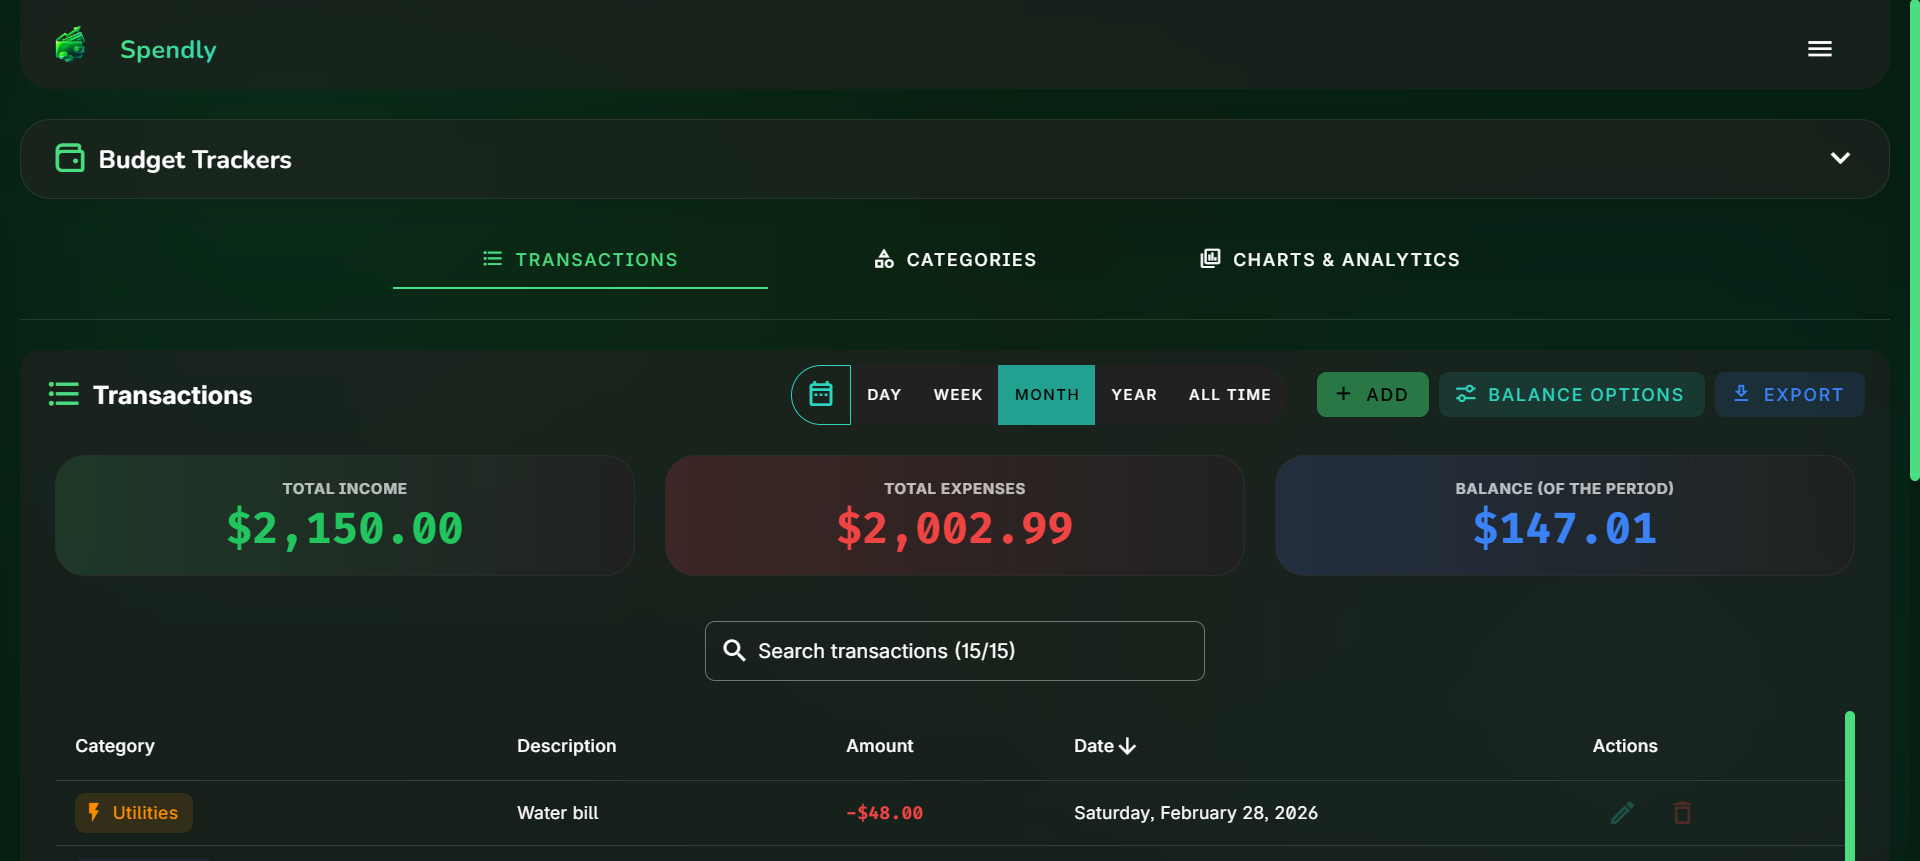
Then, it is time to add transactions. You can specify a name, amount, date, category, and whether it’s an expense or an income. You can also edit or delete them anytime.
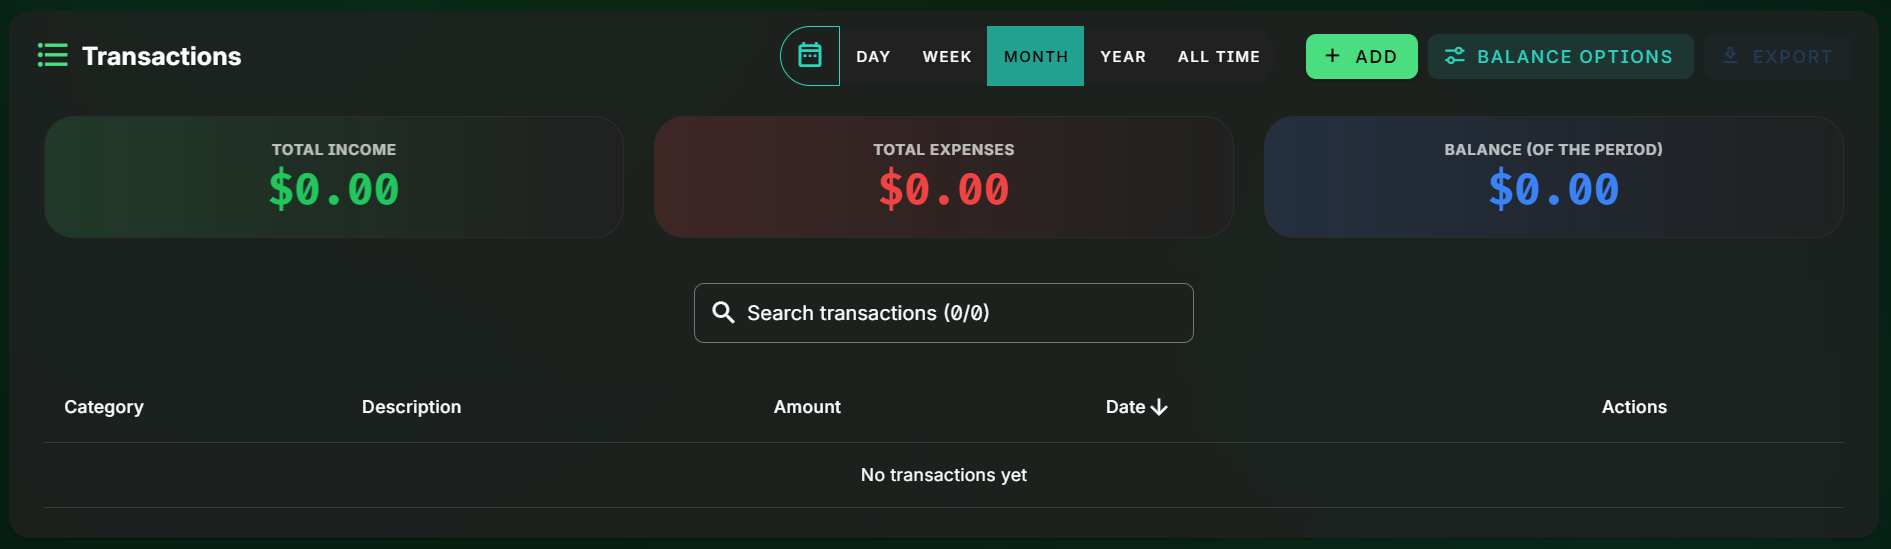
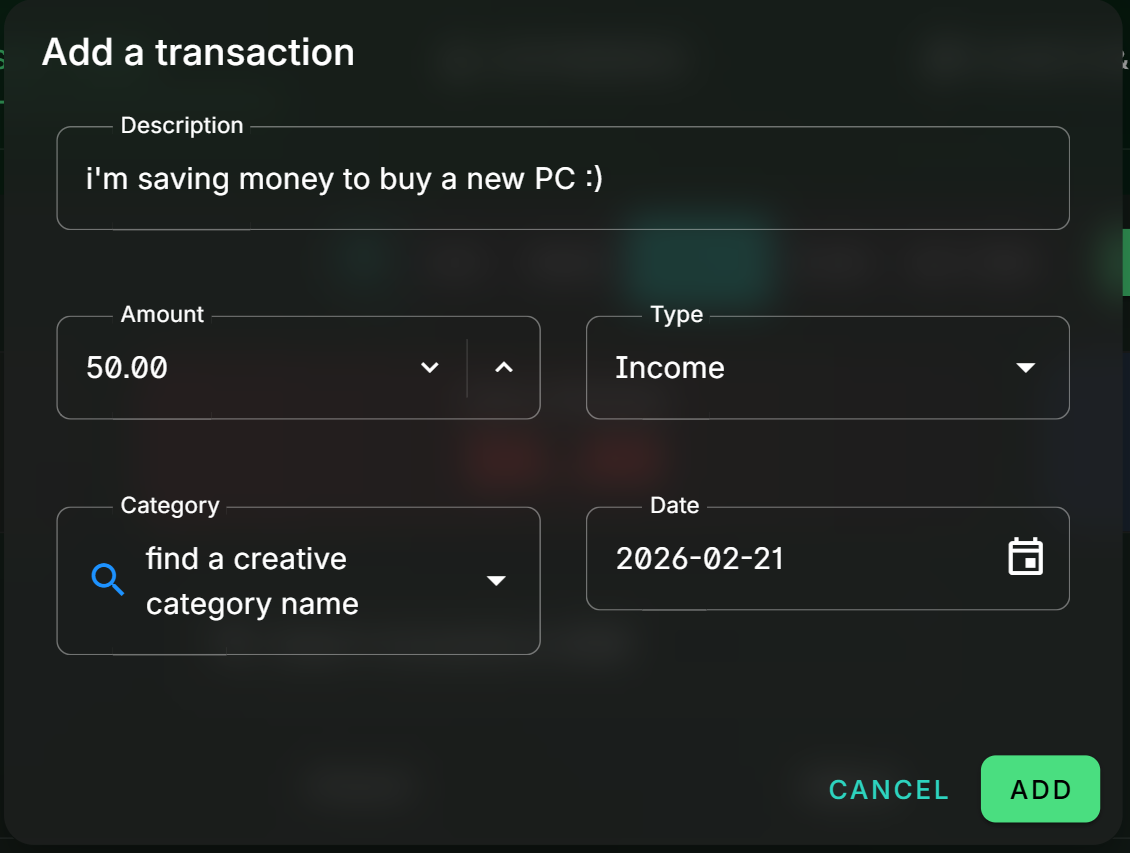
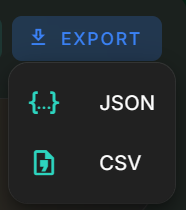
In the transactions table, you can search for any transaction and sort by any column. You can also export transactions as a CSV or JSON file.

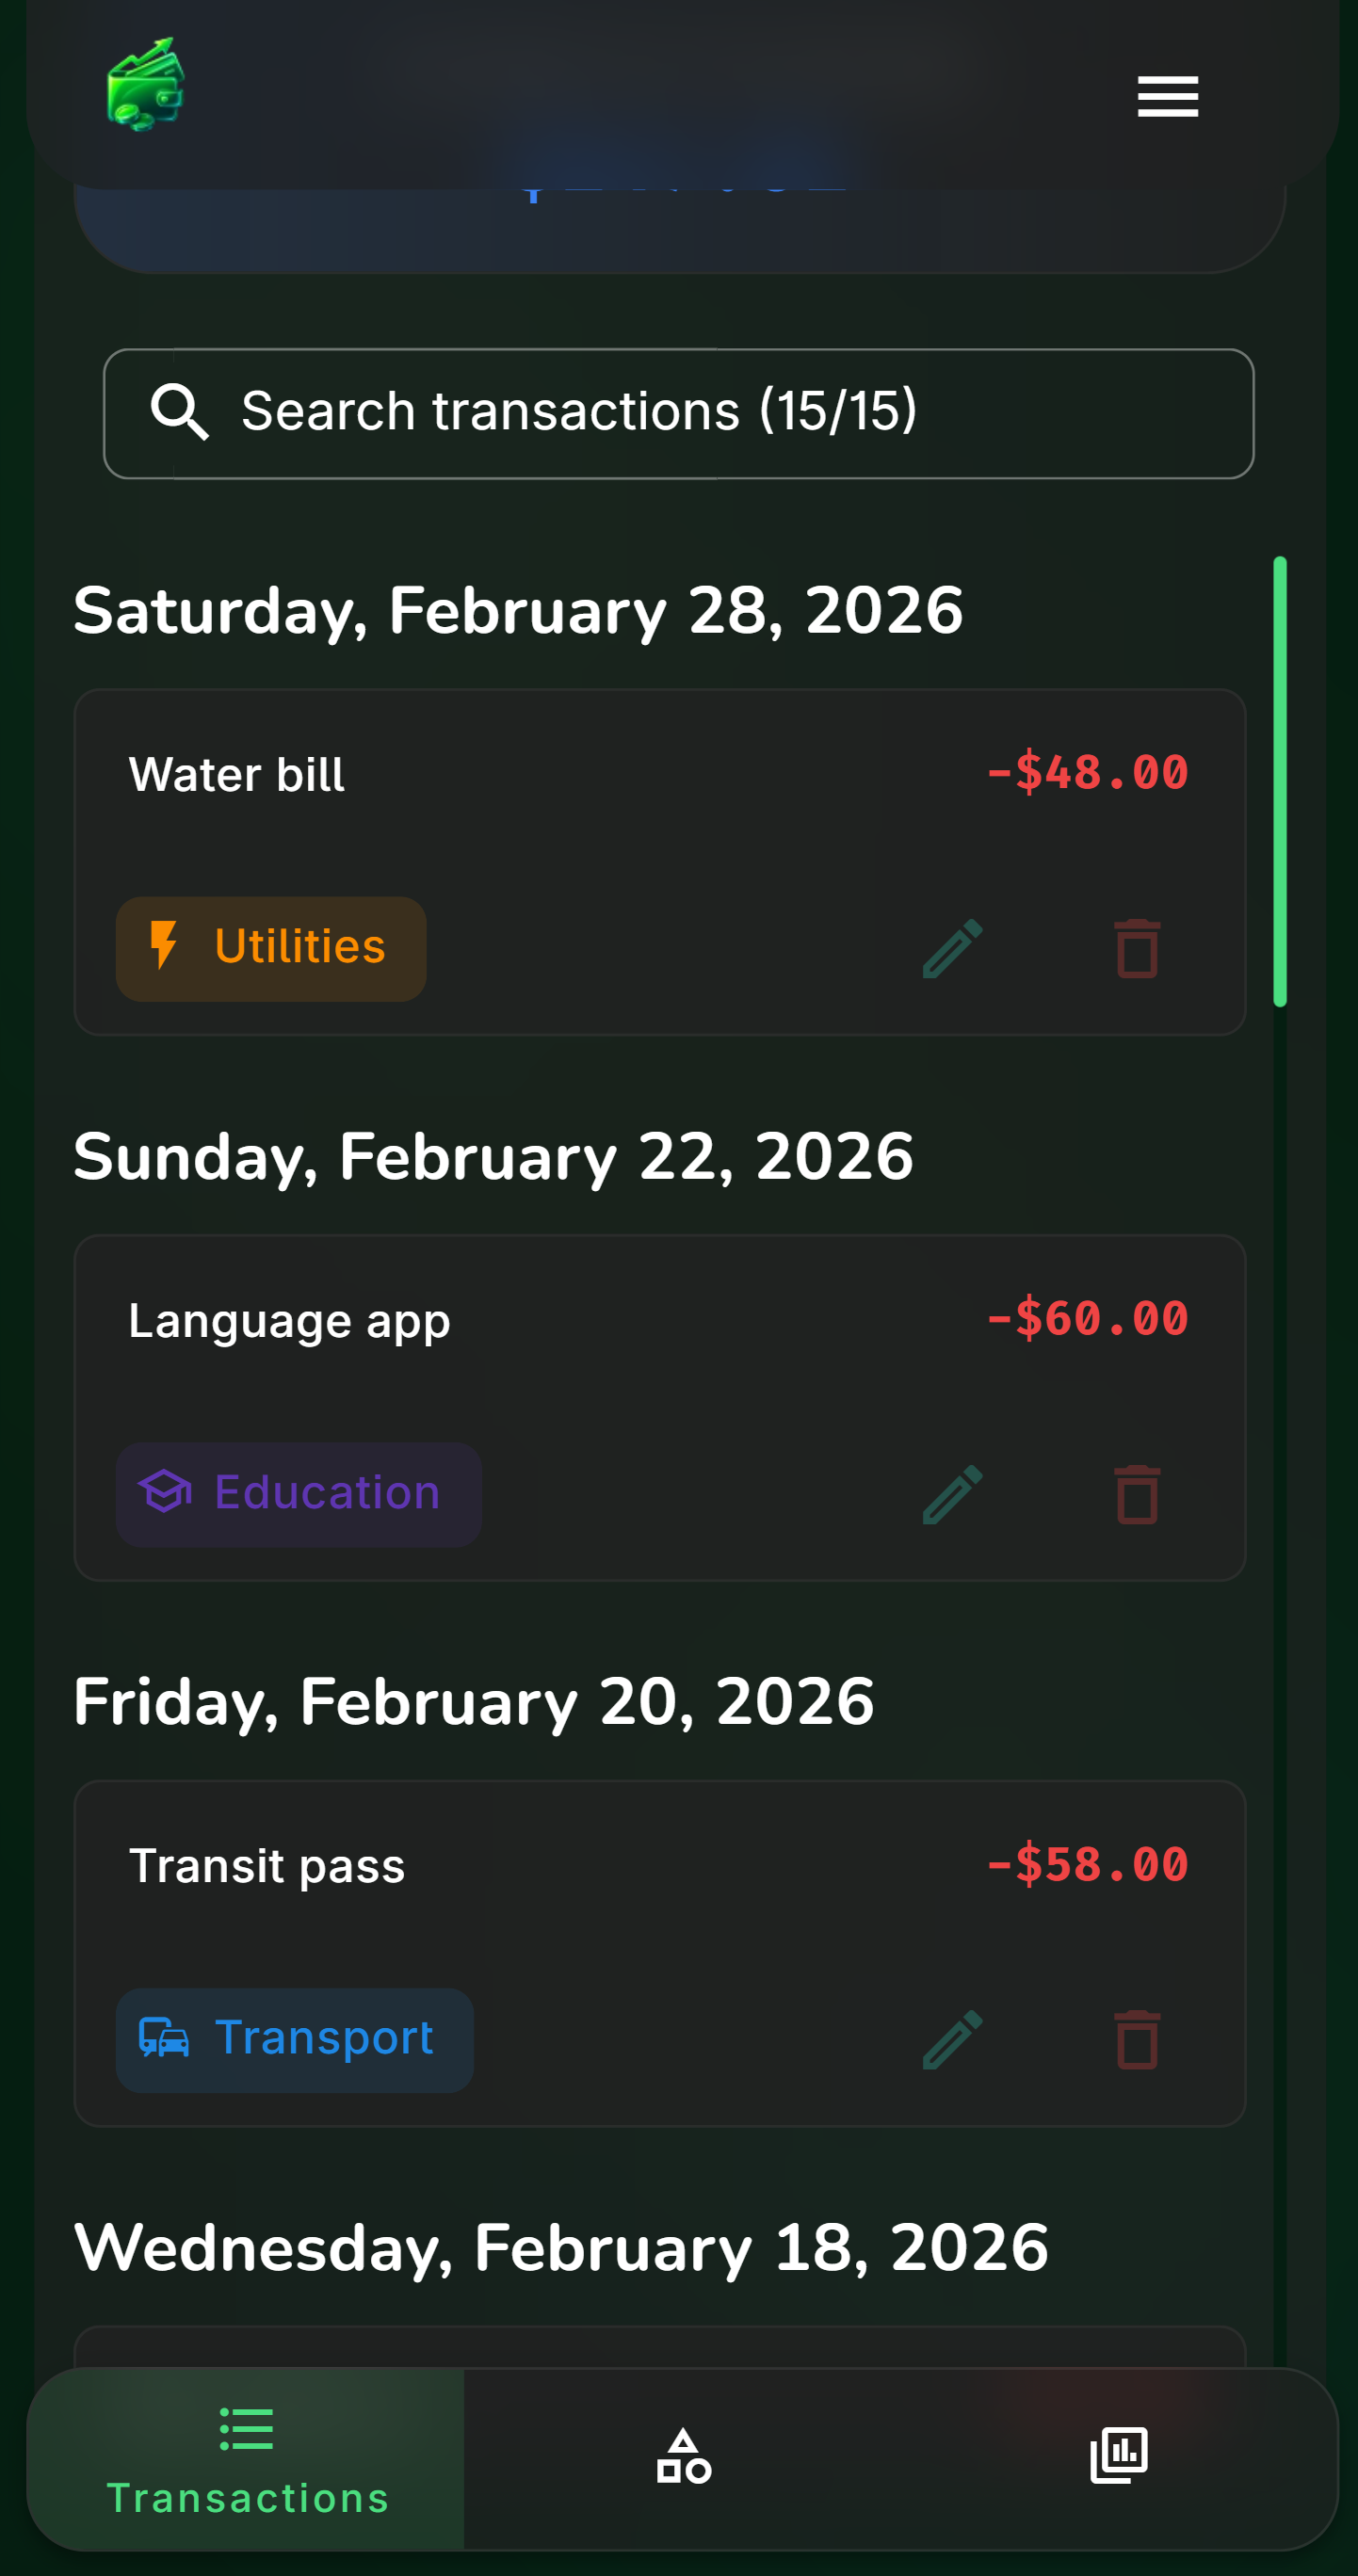
The table is replaced by cards on mobile for better readability.
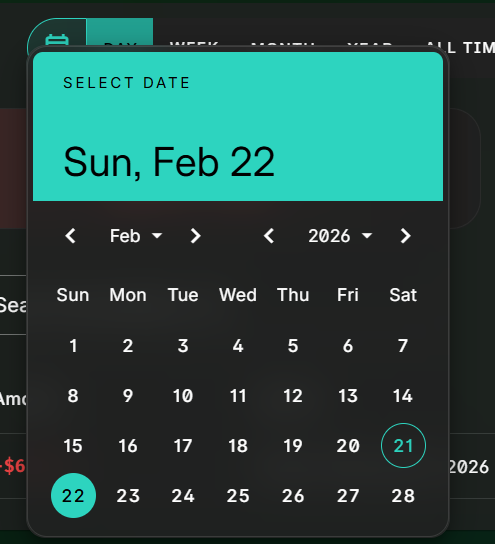
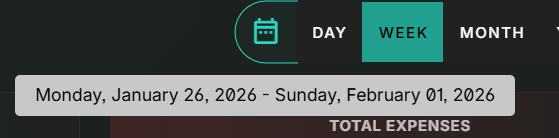
You can filter the list of displayed transactions by any date range (this also affects the charts). Hovering over the icon will tell you exactly which time range it corresponds to.

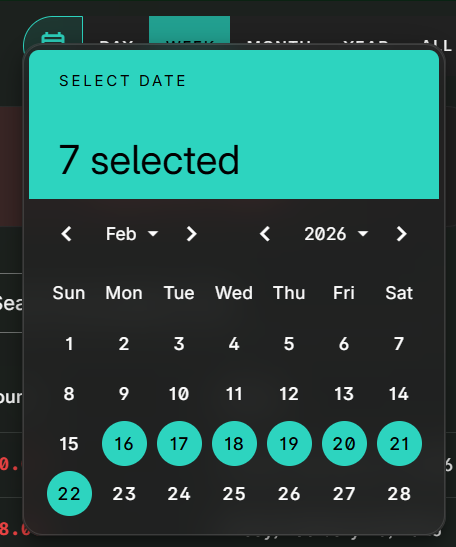
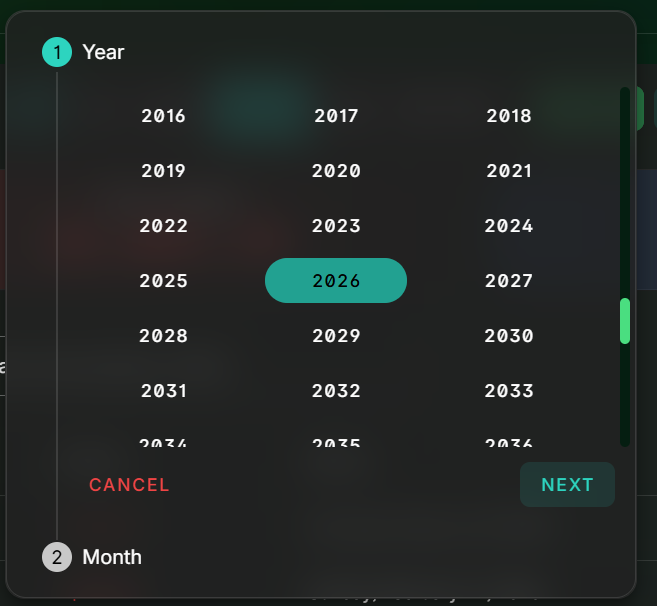
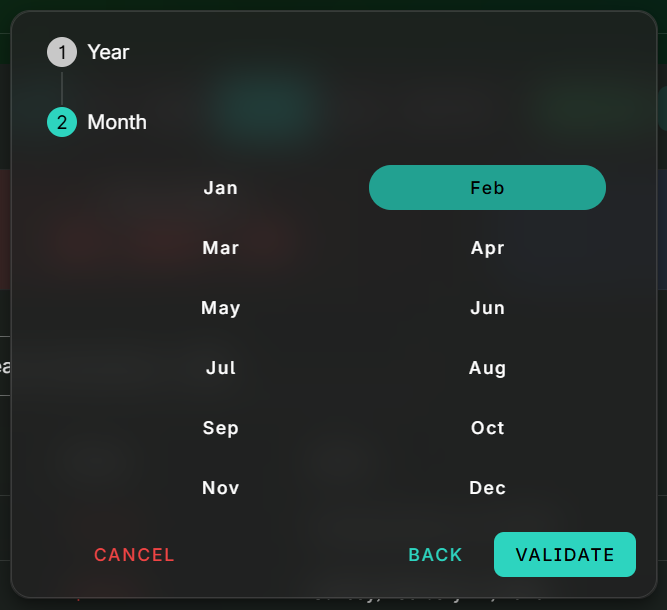
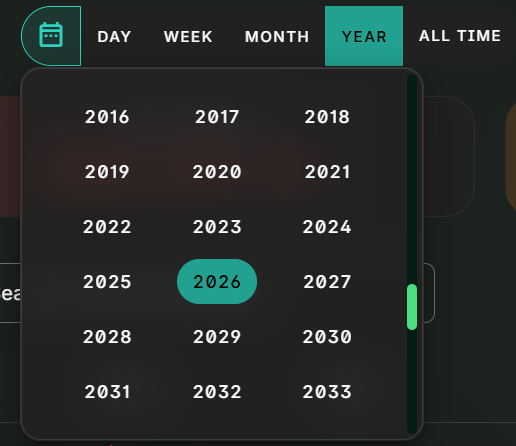
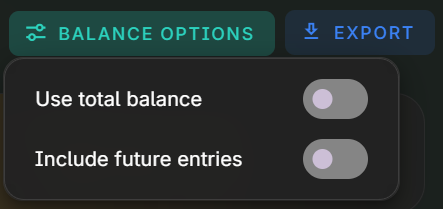
Depending on the date range, you’ll see an according summary of your expanses/income and your balance. You have options to take also into account past, future, or all transactions.


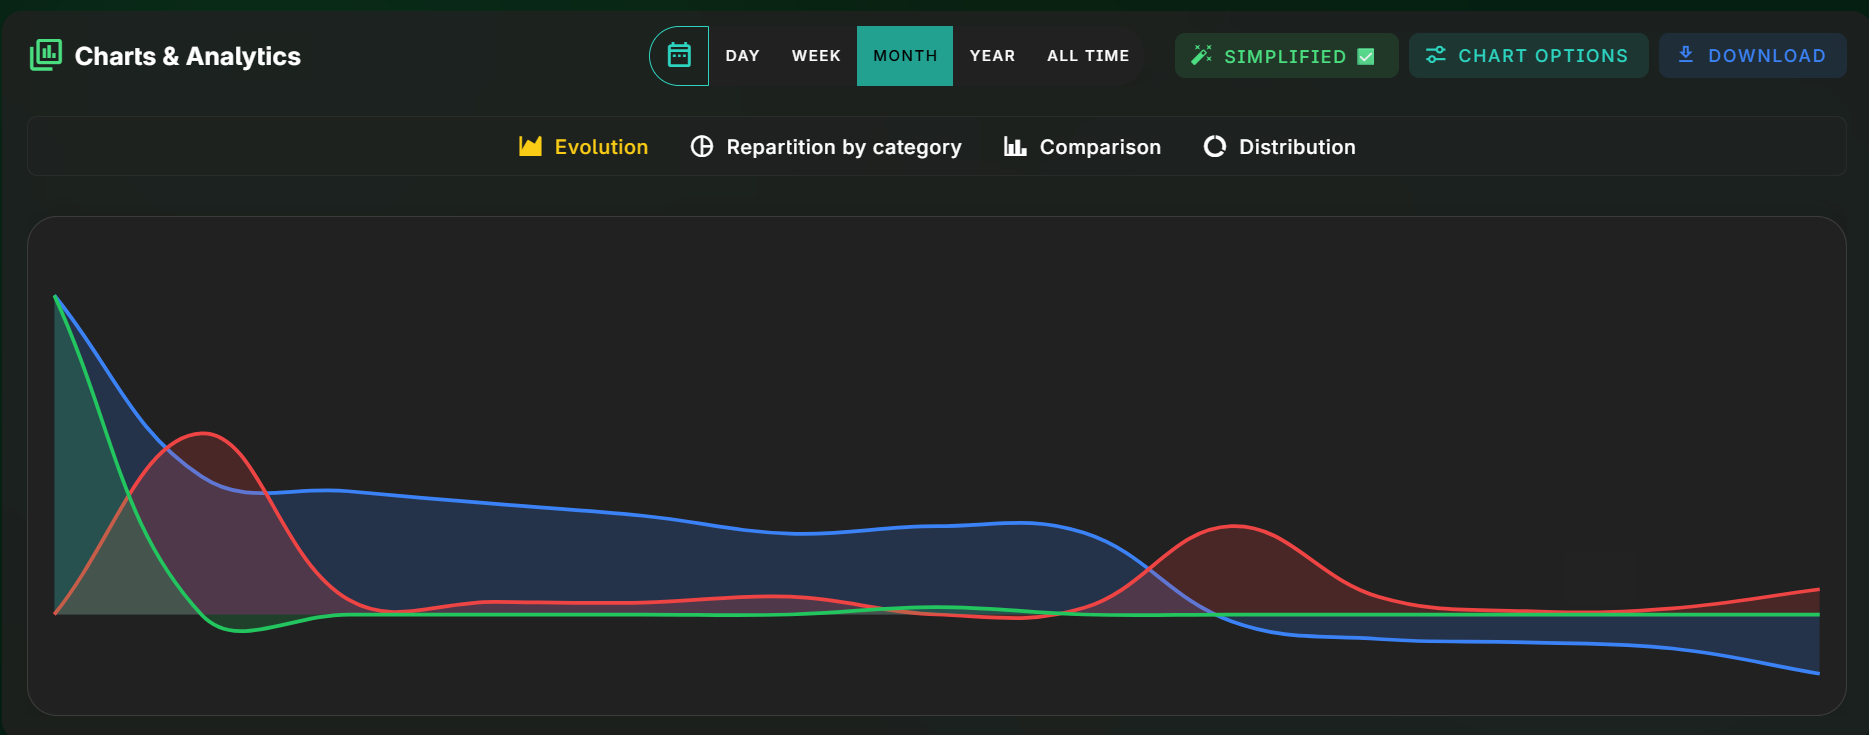
Finally, you have 4 types of charts to visualize your financial data in a more digestible way. They all have options to toggle some details on/off, and you can hover over data points for more details.

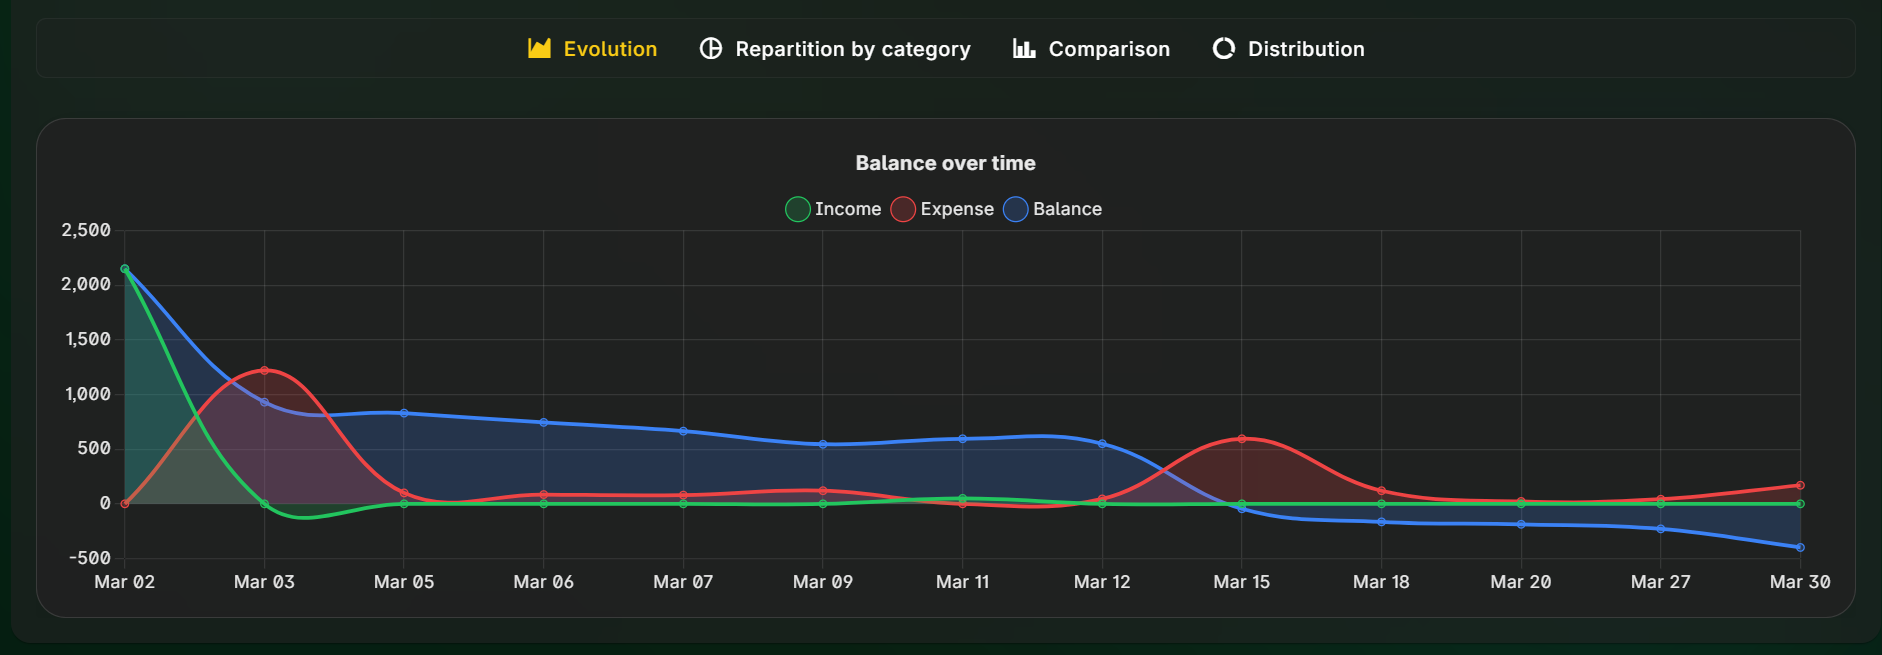
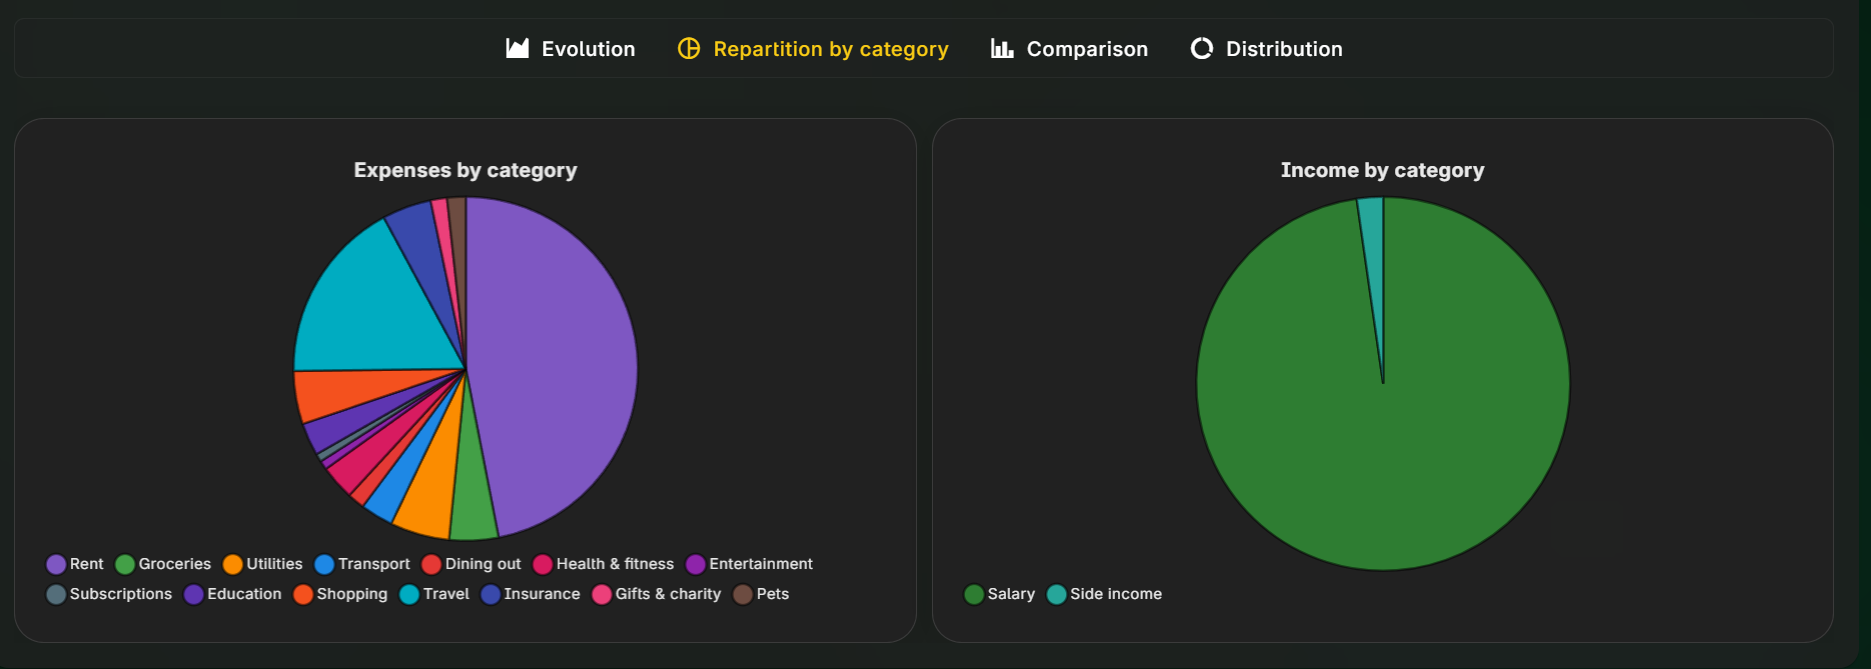
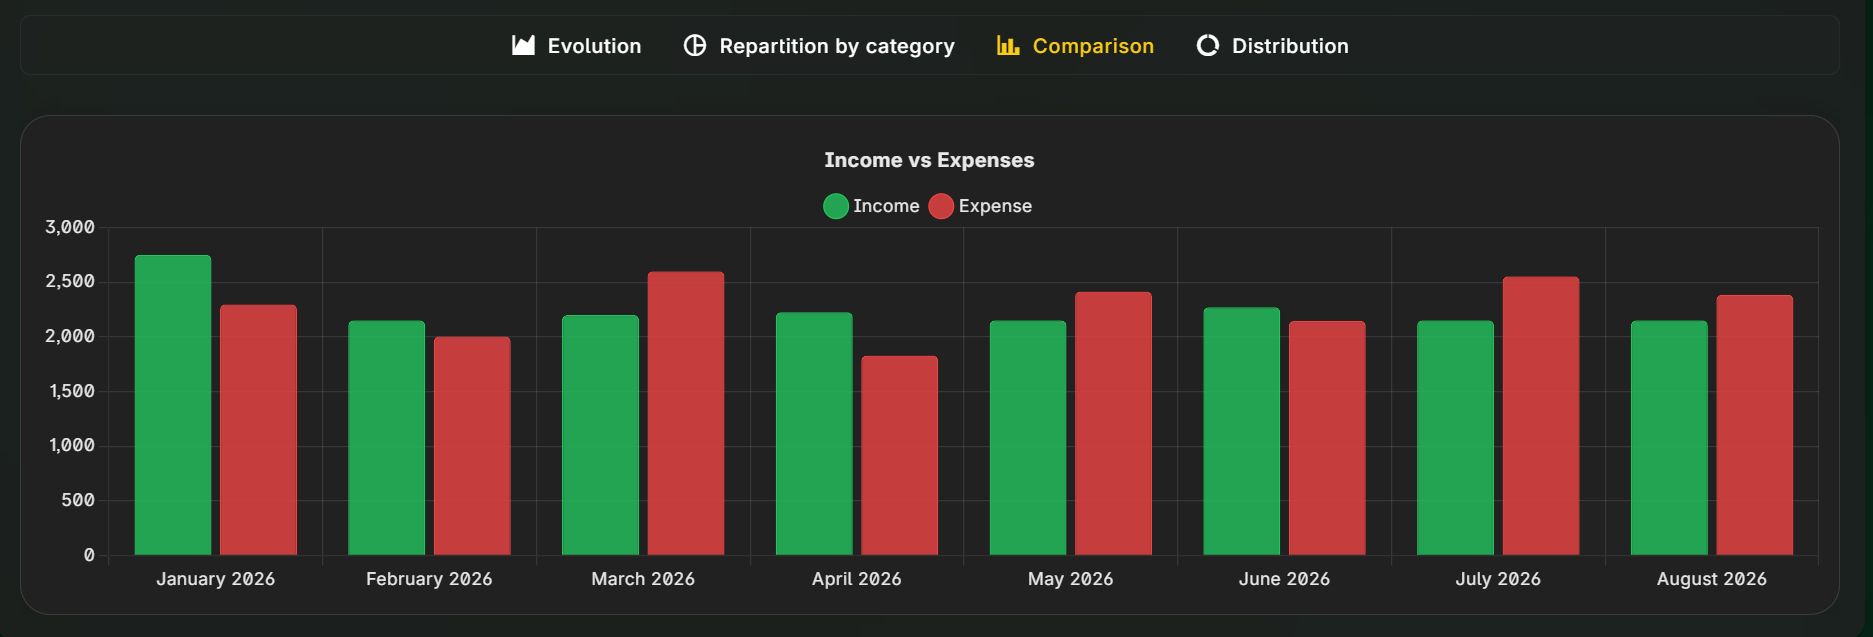
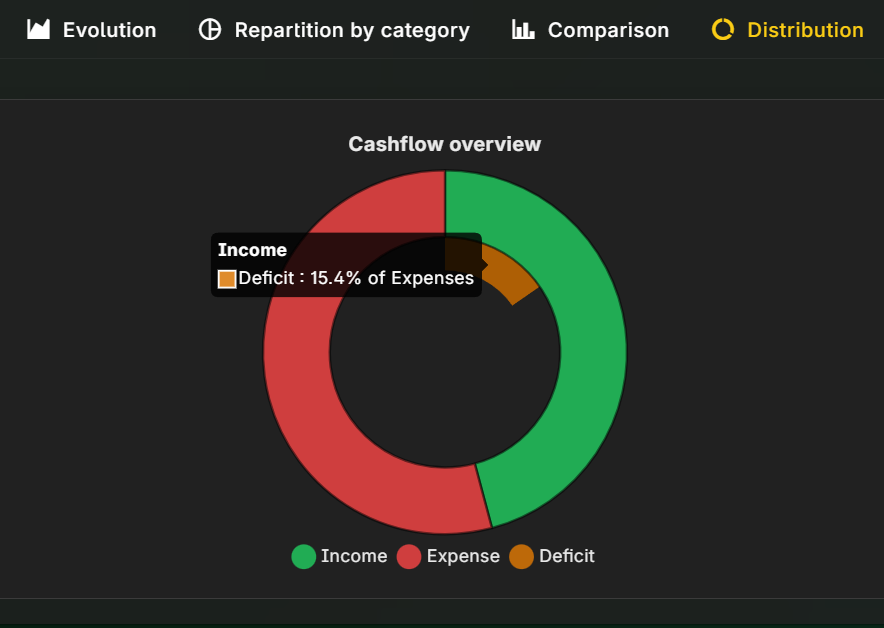
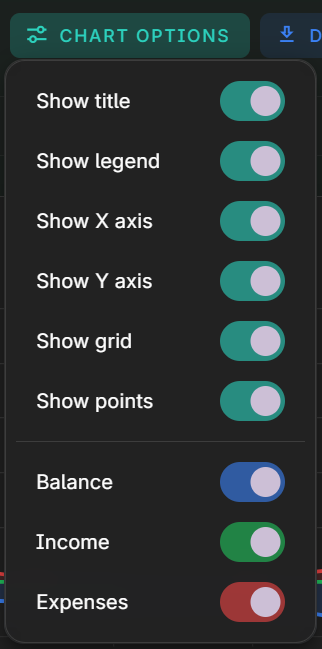
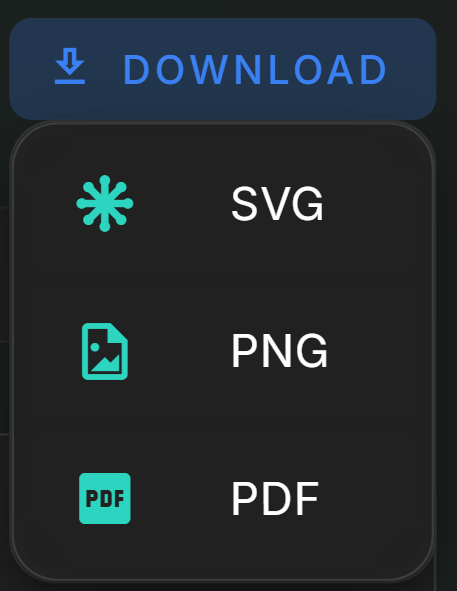
All charts have a simplified mode that turns off all details, and can be downloaded as SVG (infinite resolution), PNG or PDF.
---
## Developer documentation
### Get started
pwsh
```
git clone https://github.com/EDM115/spendly.git
cd spendly
```
Create a `.env` file in the root directory and add the following variables :
env
```
SEED_USERS='[{"email": "admin@example.test", "username": "admin", "password": "admin", "role": "admin"}, {"email": "user@example.test", "username": "test", "password": "test", "role": "user"}]'
SEED=false
DEFAULT_UI_LANG=en
DB_FILE_NAME=db/data.db
BETTER_AUTH_SECRET=x0x0x0
BETTER_AUTH_URL=http://localhost:8880
RESEND_API_KEY=re_xxxxxxxxx
GITHUB_CLIENT_ID=xxxx
GITHUB_CLIENT_SECRET=xxxx0000
GOOGLE_CLIENT_ID=0000-xxxx.apps.googleusercontent.com
GOOGLE_CLIENT_SECRET=xxxx-0000-xxxx-
TURNSTILE_SITE_KEY=0x4AAAAAA00
TURNSTILE_SECRET_KEY=0x4AAAAAA00-XX
# you can skip those
SERVICE_NAME=spendly
SERVICE_VERSION=1.3.0
LOG_LEVEL=info
LOG_INCLUDE_UA=true
LOG_INCLUDE_IP=true
STAGE=development
ALERT_API=https://alert.service/send?token=xxxx&message=
DISABLED_FEATURES=magic-link,turnstile
```
**Required** :
- `SEED_USERS` : if any value should contain a quote, write instead `\'` (or `\"`)
- `SEED` : enables database seeding when the app boots. In Docker, leave this to `true` so the first run seeds an empty volume (seeding is skipped if data already exists)
- `DEFAULT_UI_LANG` : the default language of the UI (either `en` or `fr`)
- `DB_FILE_NAME` : the path to the SQLite database file, please keep as-is
- `BETTER_AUTH_SECRET` : generate with `node -e "import('crypto').then(crypto => console.log(crypto.randomBytes(64).toString('hex')))"`
- `BETTER_AUTH_URL` : the base URL of Spendly, port 8880 in dev and 60000 by default in prod, change with the proper URL
- `RESEND_API_KEY` : to send emails
- `GITHUB_CLIENT_ID` & `GITHUB_CLIENT_SECRET` : for GitHub OAuth
- `GOOGLE_CLIENT_ID` & `GOOGLE_CLIENT_SECRET` : for Google OAuth
- `TURNSTILE_SITE_KEY` & `TURNSTILE_SECRET_KEY` : for Cloudflare Turnstile CAPTCHA
**Optional** :
- `SERVICE_NAME` : service identifier in logs (defaults to `spendly`)
- `SERVICE_VERSION` : release/version tag to include in logs, defaults to the version in `package.json`
- `LOG_LEVEL` : pino log level (ex `debug`, `info`, `warn`, `error`)
- `LOG_INCLUDE_UA` : set to `true` to include user-agent in request logs (default `false`)
- `LOG_INCLUDE_IP` : set to `true` to include client IP in request logs (default `false`)
- `STAGE` : override log environment ( `production`, `staging`, `development`), defaults to `NODE_ENV`
- `ALERT_API` : an API endpoint to send alerts to when an email have been sent (to monitor its usage as it ain’t free), the message will be appended to the URL
- `DISABLED_FEATURES` : a list of comma-separated values of stuff you wanna disable in Spendly. useful for self-hosting and not creating accounts everywhere. possible values : `email`, `logs`, `magic-link`, `oauth-github`, `oauth-google`, `turnstile`
TIP
to keep turnstile active but do no actual validation, use `1x00000000000000000000AA` as `TURNSTILE_SITE_KEY` & `1x0000000000000000000000000000000AA` as `TURNSTILE_SECRET_KEY`
to disable other features, fork the repo and edit the code yourself
**other notes for self-hosters** that requires forking the repo :
- disableable login features will unfortunately stay backend-wise because it would be a db migrations pain, but also because I can’t do it, see https://github.com/better-auth/better-auth/pull/6064#pullrequestreview-3612931730
- there are some occurences that hard-code either the domain or the email, search for `edm115.dev` in any `.ts`/ `.vue`/ `.json` file and edit accordingly
pwsh
```
pnpm i --frozen-lockfile
pnpm db:migrate
pnpm db:seed
pnpm dev
```
Congrats ! Go now to [`localhost:8880`](http://localhost:8880) to check the UI.
### Third-party setup
#### Turnstile
1. Go to https://dash.cloudflare.com -> Turnstile (use the sidebar search if needed)
2. Click on `Add widget`
3. Give it a name
4. Add as Hostnames : `localhost` and your production domain (ex `spendly.edm115.dev`), as well as any other one
5. Keep Widget mode to `Managed`
6. Set Pre-clearance to `Yes`, and set the Pre-clearance level to `Interactive (high)`
7. You now have your Site Key and Secret Key
#### Resend (emails)
1. Create an account on https://resend.com/ and go through the Onboarding. Do not reuse that API key for this project and delete it once the Onboarding have been completed
2. Go to Domains, `Add domain`. It is best to set it up as a subdomain to avoid potentially polluting your main domain score
3. Place the region closest to your website hosting
4. Go through the steps. Auto-setup with Cloudflare is easiest, tho be careful if you have existing `MX` records !
5. Do not enable Receiving if you already have a solution that forwards emails somewhere else, otherwise do it
6. Configuration-wise, disable `Click Tracking` & `Open Tracking`, and set `TLS` to `Opportunistic`
7. Once the domain have been verified, create an API Key. `Full access` if Receiving is enabled, `Sending access` otherwise
8. Go in Templates and create 5 of them with the following variables as string (Formatting is up to you. I wish I could share the templates I made, but alas…) :
- `spendly-password-reset`
- `account_name`
- `spendly_home`
- `reset_link`
- `spendly-verify-email`
- `account_name`
- `spendly_home`
- `verify_link`
- `spendly-magic-link`
- `account_name`
- `spendly_home`
- `connect_link`
- `spendly-account-deletion`
- `account_name`
- `spendly_home`
- `spendly-export-request`
- `account_name`
- `spendly_home`
#### GitHub OAuth
1. Go to https://github.com/settings/developers
2. Click on `New OAuth App`
3. Give it any name, homepage
4. Authorization callback URL is `http://localhost:8880/api/auth/callback/github` (**note** : you cannot setup multiple callback URLs, so you will need to create multiple Apps for dev and prod, which is recommended anyway. make sure to switch to `https` with the prod URL !)
5. Leave `Enable Device Flow` disabled
6. Once registered, add a logo/badge color if you want
7. You now have your `Client ID` and you can create here the `Client secret`
#### Google OAuth
1. Go to https://console.cloud.google.com/apis/credentials
2. Check that you selected the right project at the top (or create one if needed)
3. Click on `+ Create Credentials` -> `OAuth client ID`
4. Application type is `Web application`
5. Authorized JavaScript origins is `http://localhost:8880` (and your prod domain, ex `https://spendly.edm115.dev`)
6. Authorized redirect URIs is `http://localhost:8880/api/auth/callback/google` (and the prod one, ex `https://spendly.edm115.dev/api/auth/callback/google`)
7. Save. You now have the `Client ID` (looking like an URL), and you can generate a `Client secret`
8. Go to Branding and add a logo if you want. You can also add your prod domain, exempt of any subdomain in the Authorized domains field (ex `edm115.dev` but not `www.edm115.dev` nor `spendly.edm115.dev`)
9. Go to Data access, and enable the following fields :
- `openid`
- `.../auth/userinfo.email`
- `.../auth/userinfo.profile`
10. For the Audience tab, you can keep it as Test for dev, but for Production you will need to submit for validation. This will require you, among other things, to provide online and ready-to-hit Privacy Policy and Terms of Use pages. Spendly already has those, accessible at `/privacy-policy` and `/terms-of-use`. You can then check where it’s at in the Validation center, and they will send emails if anything needs to be fixed.
### PWA (Vite PWA / Nuxt)
- Spendly uses `@vite-pwa/nuxt` with a generated Web App Manifest and service worker
- PWA head entries ( `manifest`, icons, `theme-color`) are injected through `NuxtPwaAssets` in `app/layouts/default.vue`
- Icon assets are generated from `public/images/logo.webp` via the `pwaAssets` integration
- Service worker update mode is configured as `prompt` to avoid forced reload while users are editing data
### Log analysis (CLI + TUI)
Capture logs to a file (Docker example) :
pwsh
```
docker logs spendly > logs/spendly.log
```
Follow logs and save them while you reproduce an issue :
pwsh
```
docker logs -f spendly | Tee-Object -FilePath logs/spendly.log
```
bash
```
docker logs -f spendly | tee logs/spendly.log
```
Capture dev server logs (when you pipe, JSON is emitted because the logger disables pretty output in non-TTY mode) :
pwsh
```
pnpm dev | Tee-Object -FilePath logs/spendly.log
```
Analyze logs (CLI summary + JSON report) :
pwsh
```
pnpm log:analyze --file logs/spendly.log
```
Analyze directly from stdin :
pwsh
```
cat logs/spendly.log | pnpm log:analyze
```
Useful flags :
- `--duration-kind request|ui|system` : choose which kind feeds duration stats/slowest
- `--no-output` : skip writing the JSON report to disk
- `--json logs/log-report.json` : write the JSON report to a custom path
Interactive TUI (requires a file path and a TTY) :
pwsh
```
pnpm log:tui --file logs/spendly.log
```
TUI controls :
- Tabs : `1` Overview, `2` Filters, `3` Drilldown
- Overview : `↑/↓/scroll` move
- Filters : `f/t/e/s/k/o/h/a/d/x` edit/clear filters
- Drilldown : `↑/↓/scroll` move, `/` search, `Esc` clear search
- `r` refresh, `q` quit, `?` help
### On Drizzle DB schema/Better Auth config changes
pwsh
```
pnpm better-auth:generate
# diff shared/db/auth.schema.ts with shared/db/schema.ts and update the Better Auth tables accordingly
pnpm db:generate
pnpm db:migrate
```
### Build and run/Redeploy
pwsh
```
docker compose up -d --build
```
#### Remove container but keep data
pwsh
```
docker compose down
```
#### Older method
### Build and run (Docker CLI)
pwsh
```
docker build -t edm115/spendly .
docker run -d -p 60000:60000 --env-file .env -v spendly_db:/app/db --name spendly edm115/spendly
```
#### Redeploy (rebuild without data loss)
pwsh
```
docker stop spendly && docker rm spendly
docker build -t edm115/spendly .
docker run -d -p 60000:60000 --env-file .env -v spendly_db:/app/db --name spendly edm115/spendly
```
#### Notes
- Database migrations run automatically at container startup
- Seeding runs only when `SEED=true` **and** the database is empty
### DB Schema
#### budget\_tracker
| Column | Type | Extra |
| --- | --- | --- |
| id | string | Primary Key, UUIDv4 |
| name | string | Not Null |
#### user\_budget\_tracker
| Column | Type | Extra |
| --- | --- | --- |
| user\_id | string | Primary Key, Foreign Key, UUIDv4 |
| budget\_tracker\_id | string | Primary Key, Foreign Key, UUIDv4 |
| role | string | Not Null, default “viewer” |
#### category
| Column | Type | Extra |
| --- | --- | --- |
| id | string | Primary Key, UUIDv4 |
| name | string | Not Null |
| icon | string | Not Null |
| color | string | Not Null |
| budget\_tracker\_id | string | Not Null, Foreign Key |
#### spending
| Column | Type | Extra |
| --- | --- | --- |
| id | string | Primary Key, UUIDv4 |
| name | string | Not Null |
| budget\_tracker\_id | string | Not Null, Foreign Key |
| value | float | Not Null |
| is\_spending | boolean | Not Null, default true |
| category\_id | string | Foreign Key, Not Null |
| date | date | Not Null |
#### Mermaid diagram
mermaid
```
erDiagram
budget_tracker {
TEXT id PK
TEXT name
}
user_budget_tracker {
TEXT user_id PK FK
TEXT budget_tracker_id PK FK
TEXT role
}
category {
TEXT id PK
TEXT name
TEXT icon
TEXT color
TEXT budget_tracker_id FK
}
spending {
TEXT id PK
TEXT name
TEXT budget_tracker_id FK
REAL value
BOOLEAN is_spending
TEXT category_id FK
DATETIME date
}
budget_tracker ||--o{ user_budget_tracker : has
budget_tracker ||--o{ spending : contains
budget_tracker ||--o{ category : has
category ||--o{ spending : classifies
```